
(Not So) Easy as Pie
As I said in my cooking blog “Wingin’ It'“, I love baking. However, one thing I have never actually attempted to bake myself is pie. It’s a classic dessert eaten every holiday season, yet it always seemed so hard to me. Especially because I’ve only attempted to bake a pie once in my culinary class senior year of high school…it did not turn out well. How much can you really trust a group of high school kids taking a culinary class as a joke to make a good pie though? So I figured with Thanksgiving coming up I’ll truly test my baking skills and give baking a pie another shot.
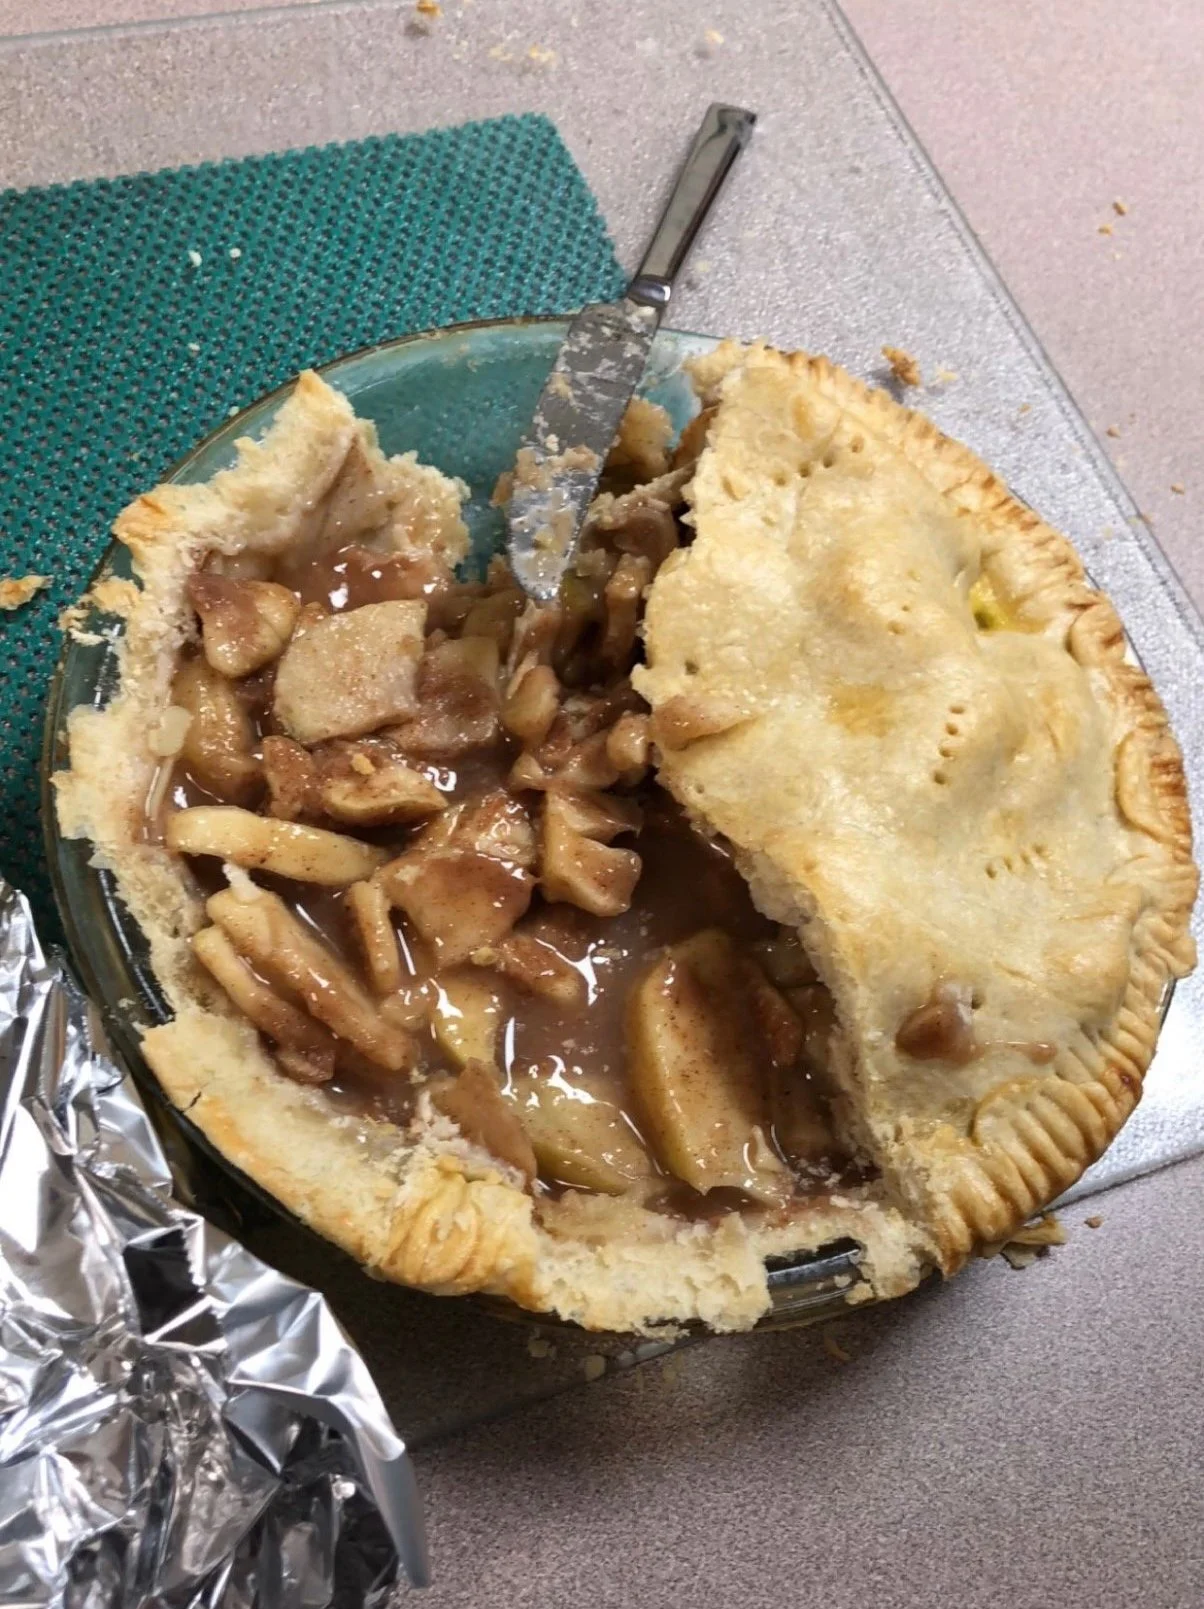
Here’s our failed pie from high school
I decided to bake an apple pie because I don’t like it. Something about warm soft fruit really grosses me out. So this blog is pretty much a two in one: baking something new and eating something new. I was actually planning on crocheting for this blog and I was going to try a cute Thanksgiving themed pattern, but it turned out being way too hard and I couldn’t even complete a simple square…so I trashed that idea.
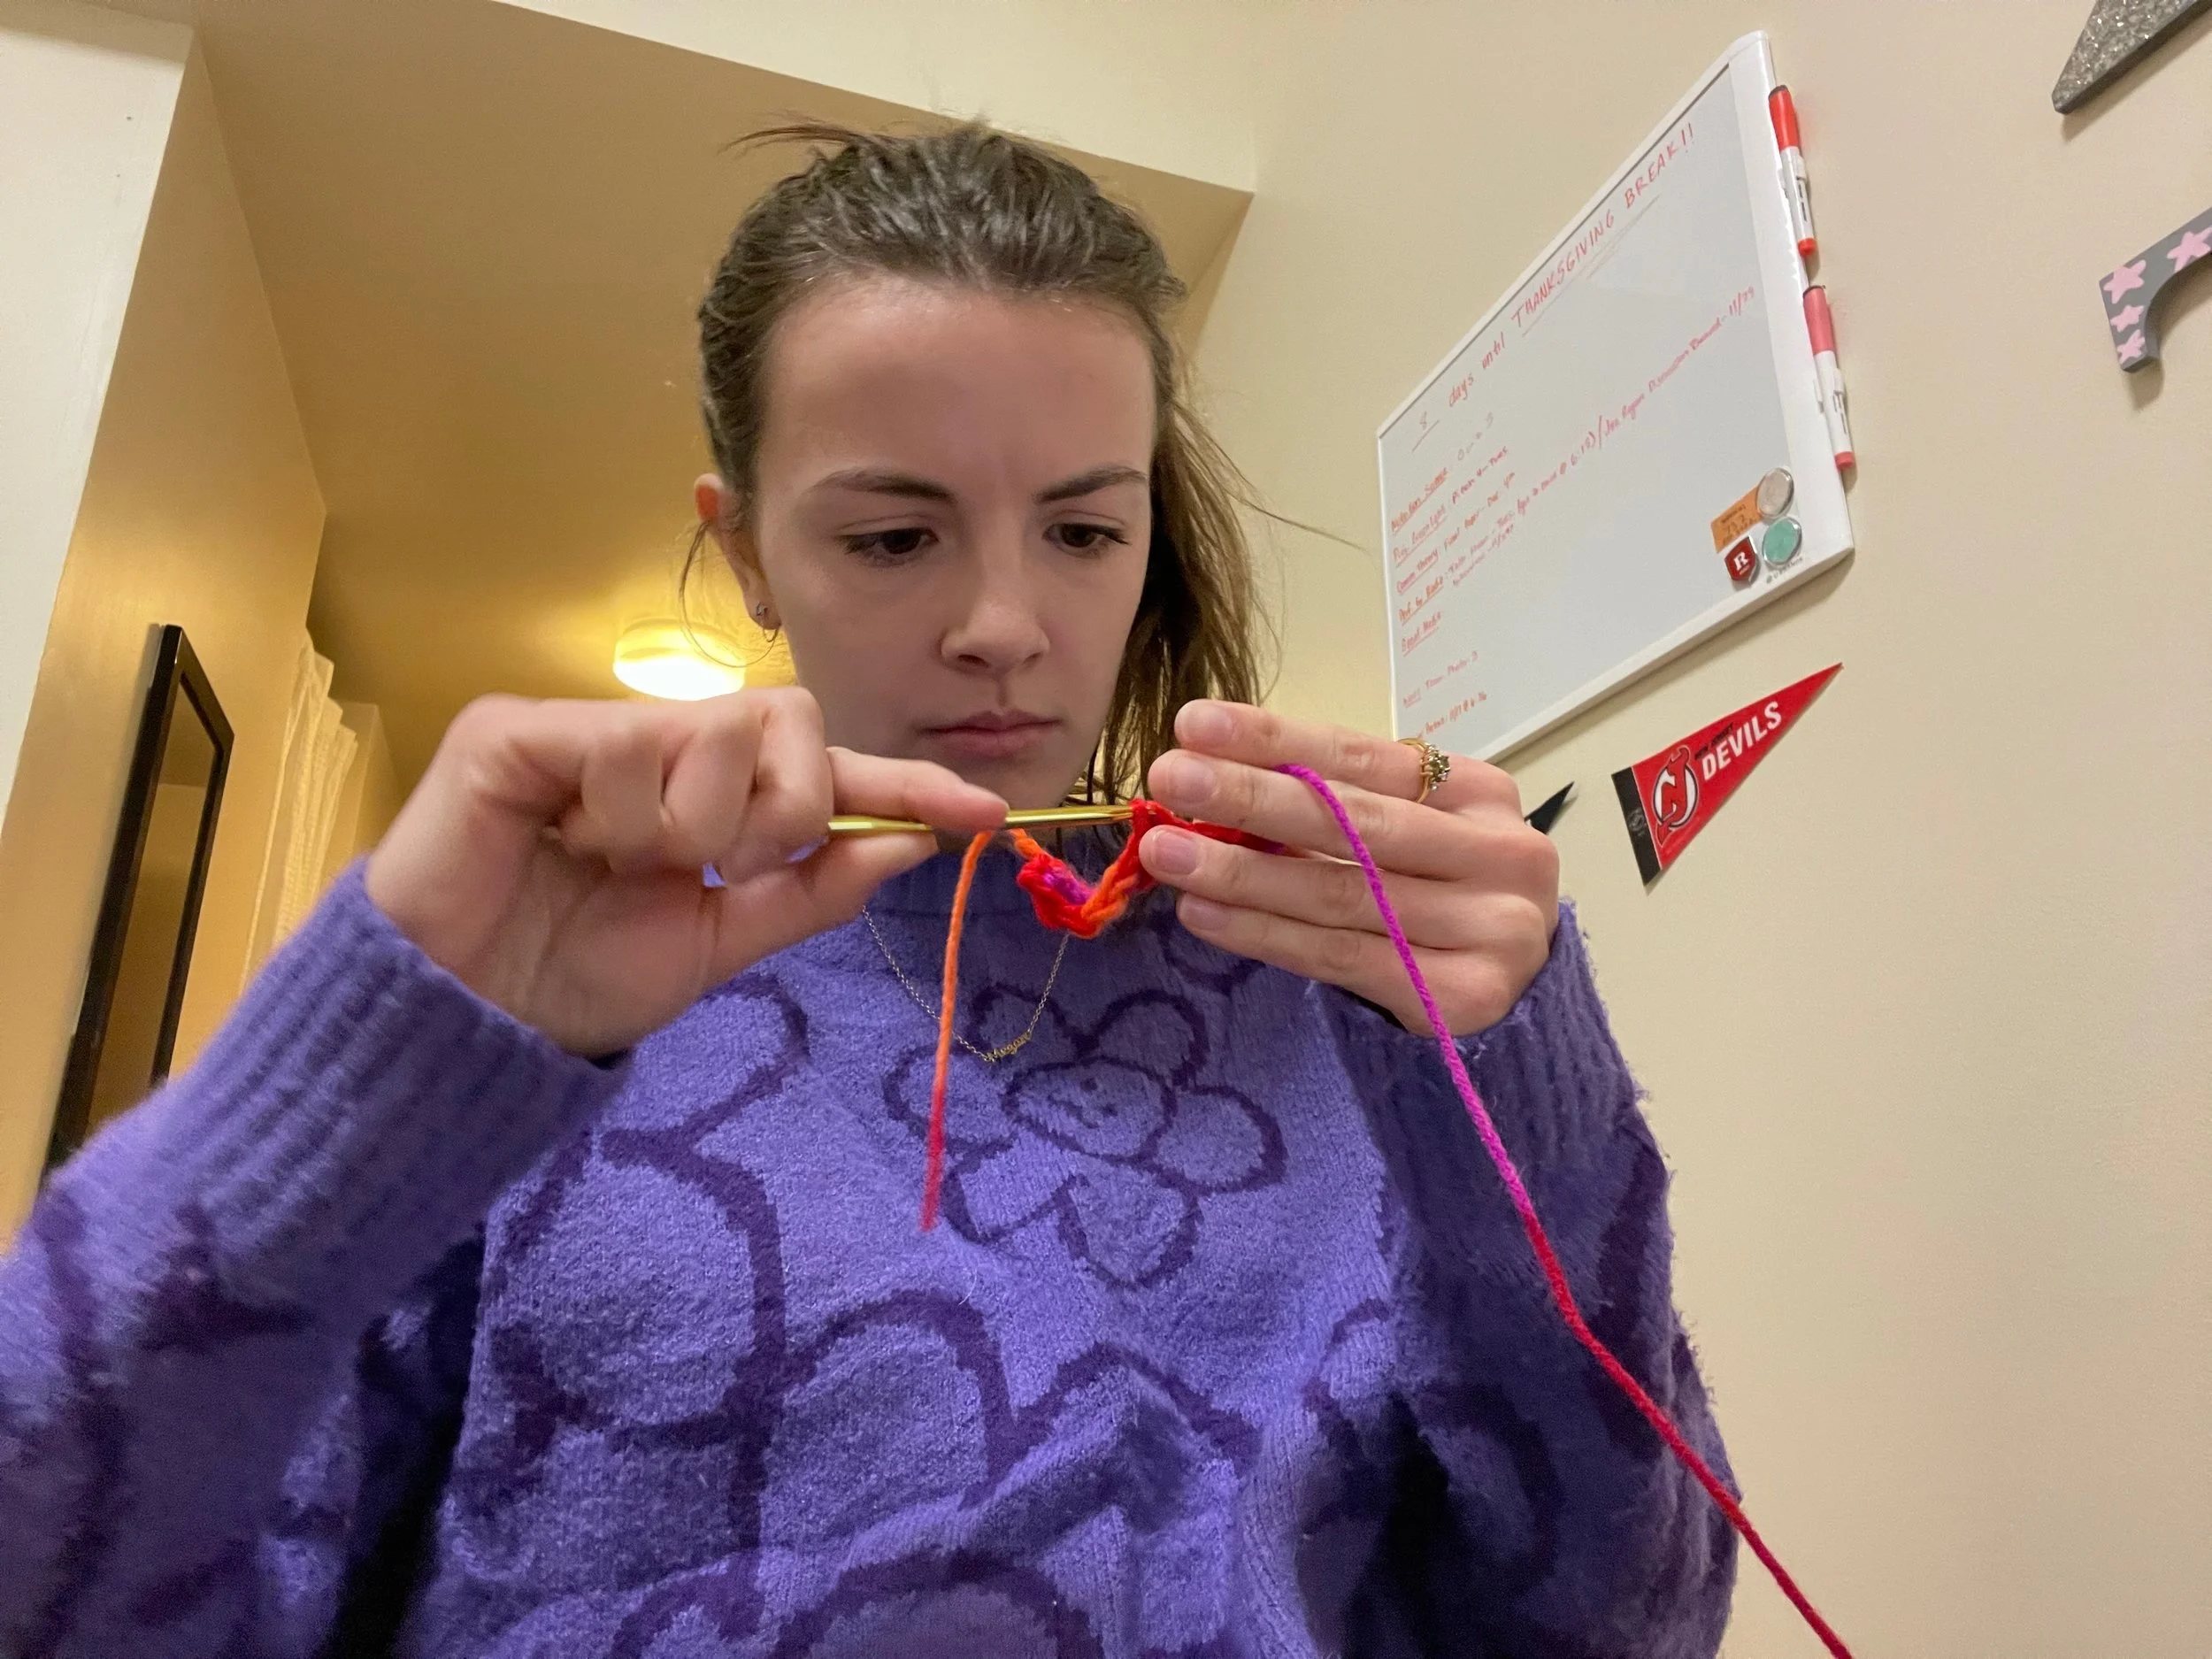
The pure confusion in my face
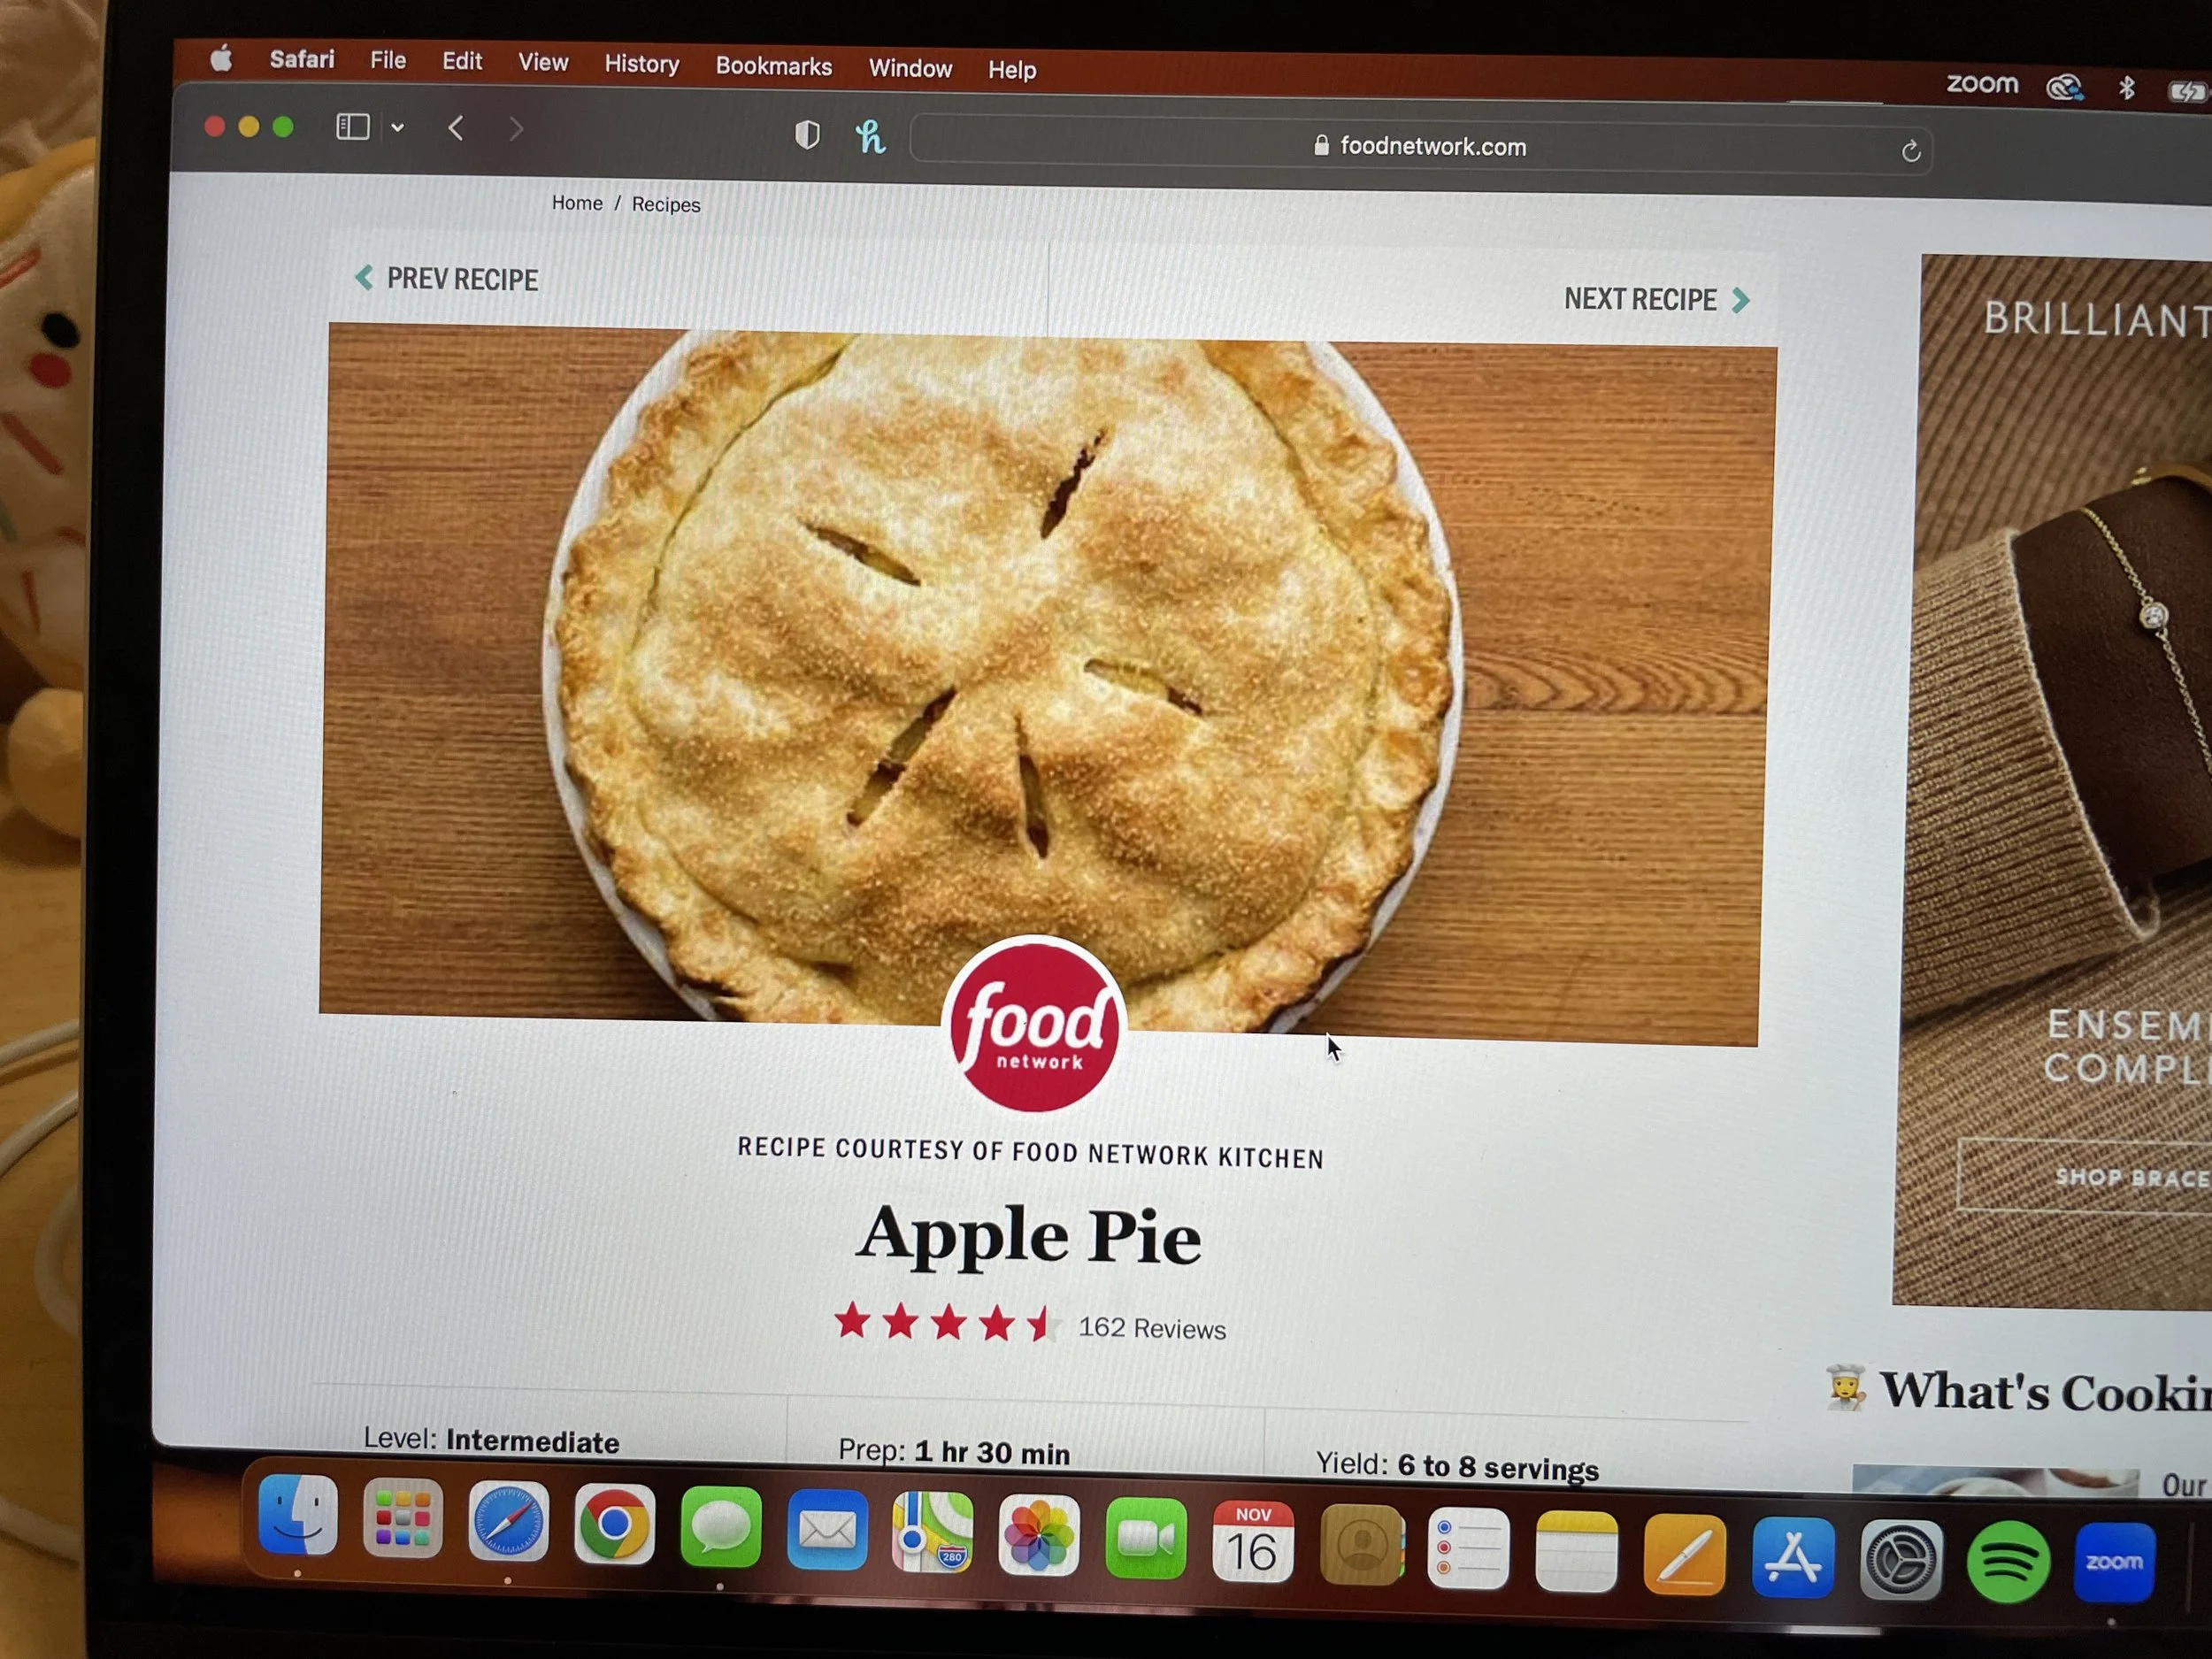
The recipe I followed was from Food Network. There were a million different recipes with different ingredients and processes. I honestly don’t know how I landed on the food network recipe because it’s not even one of the first recipes to come up when you search “apple pie recipes” but whatever, it still works. This recipe was for both the pie crust and the filling. I could’ve taken the easy route and bought a pre-made crust, but that’s not what this blog is all about. Honestly, making the crust was the part I was more worried about anyway so I had to try.
Surprisingly, I already had a bunch of the ingredients I needed to make the pie. The only things I had to buy were nutmeg, more butter, and obviously, a TON of apples. The recipe said I needed 10 pounds of apples but that seemed like way too many so I just got two little bags of them. I also bought a mixing bowl since we still didn’t have one in our apartment, so that was a big help!

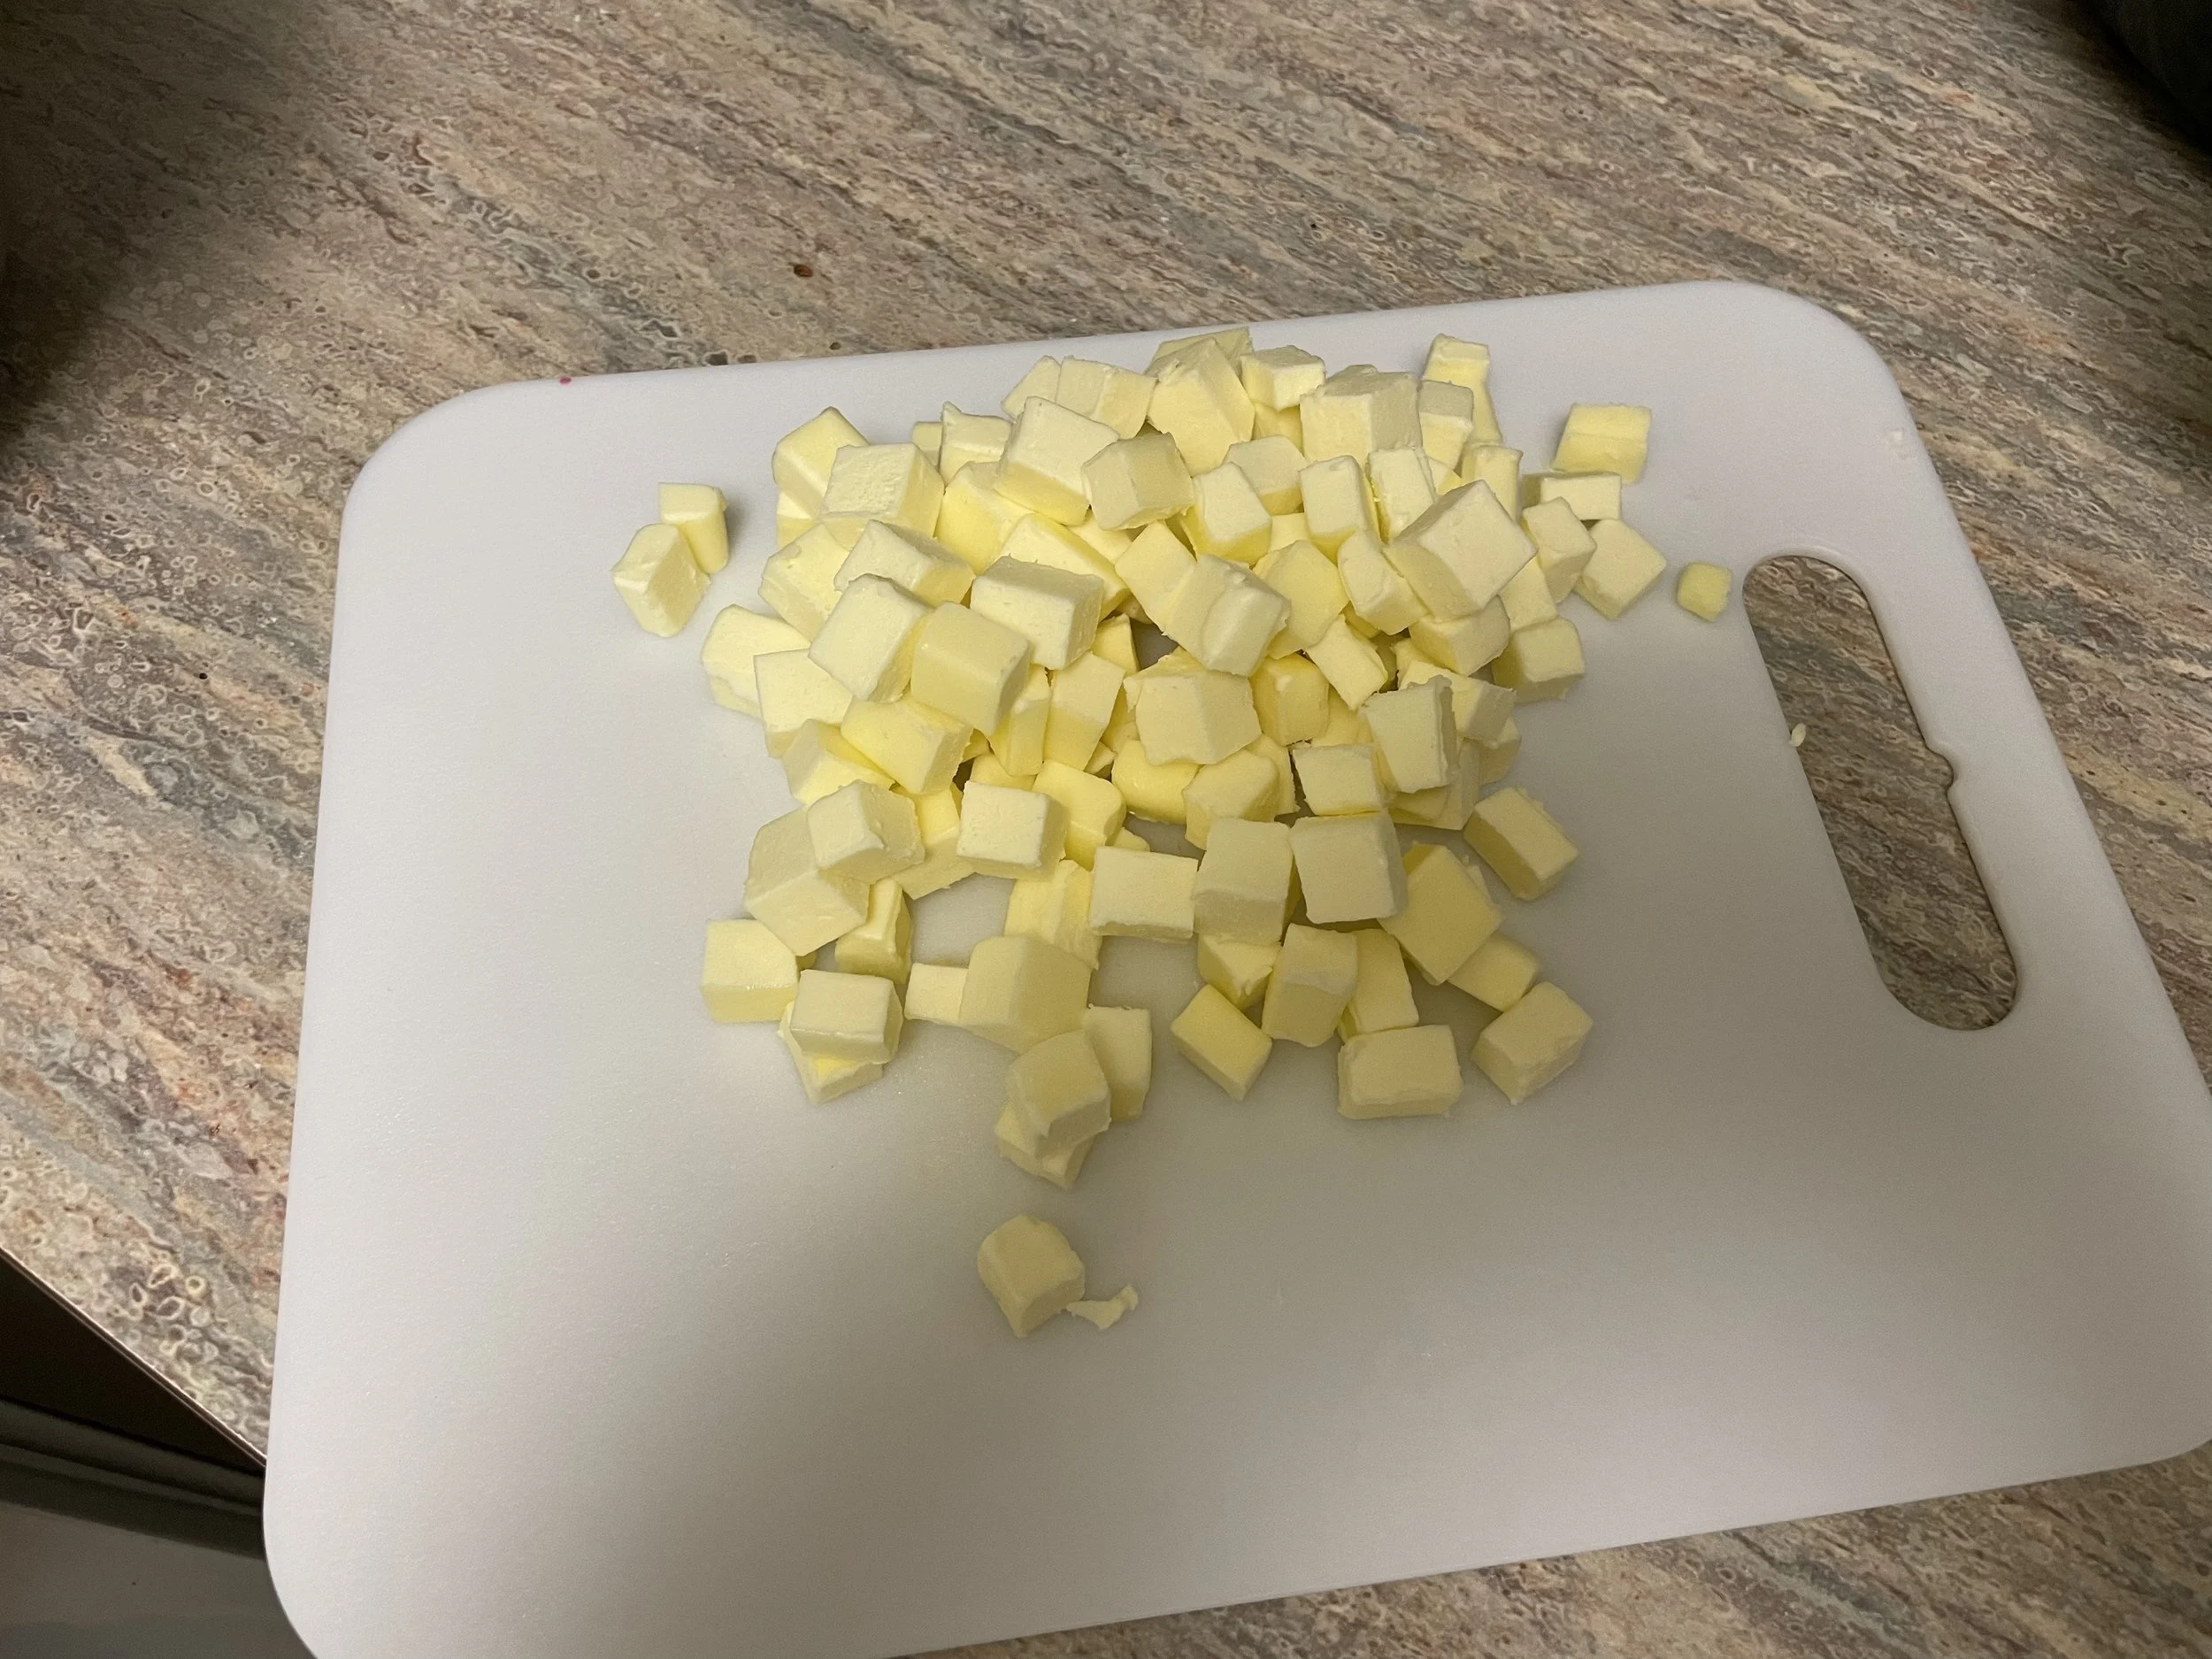
I started with the crust because it had had to sit in the fridge for an hour to chill, but also because it was the first step in the recipe and I just followed what it told me to do. My mom told me that dough is made in a food processor a lot, but obviously I didn’t have one so I had to do it by hand. Thankfully the recipe gave instructions for both methods. I first mixed the dry ingredients together. Then I had to cut cold butter into cubes. It was honestly kind of fun cutting the butter, but not as smooth as everyone says butter is because it was cold. Then I had to mix the butter in with my hands until it “…resembled yellow corn meal mixed with bean sized bits of butter”. Very specific explanation, but I think I got there. However, it wasn’t easy. Almost instantly my hands started hurting from crushing and mixing the butter simultaneously. And it took a while to all mix in since it was cold and solid. But once I finally worked the butter in, I really understood the “yellow cornmeal” reference.
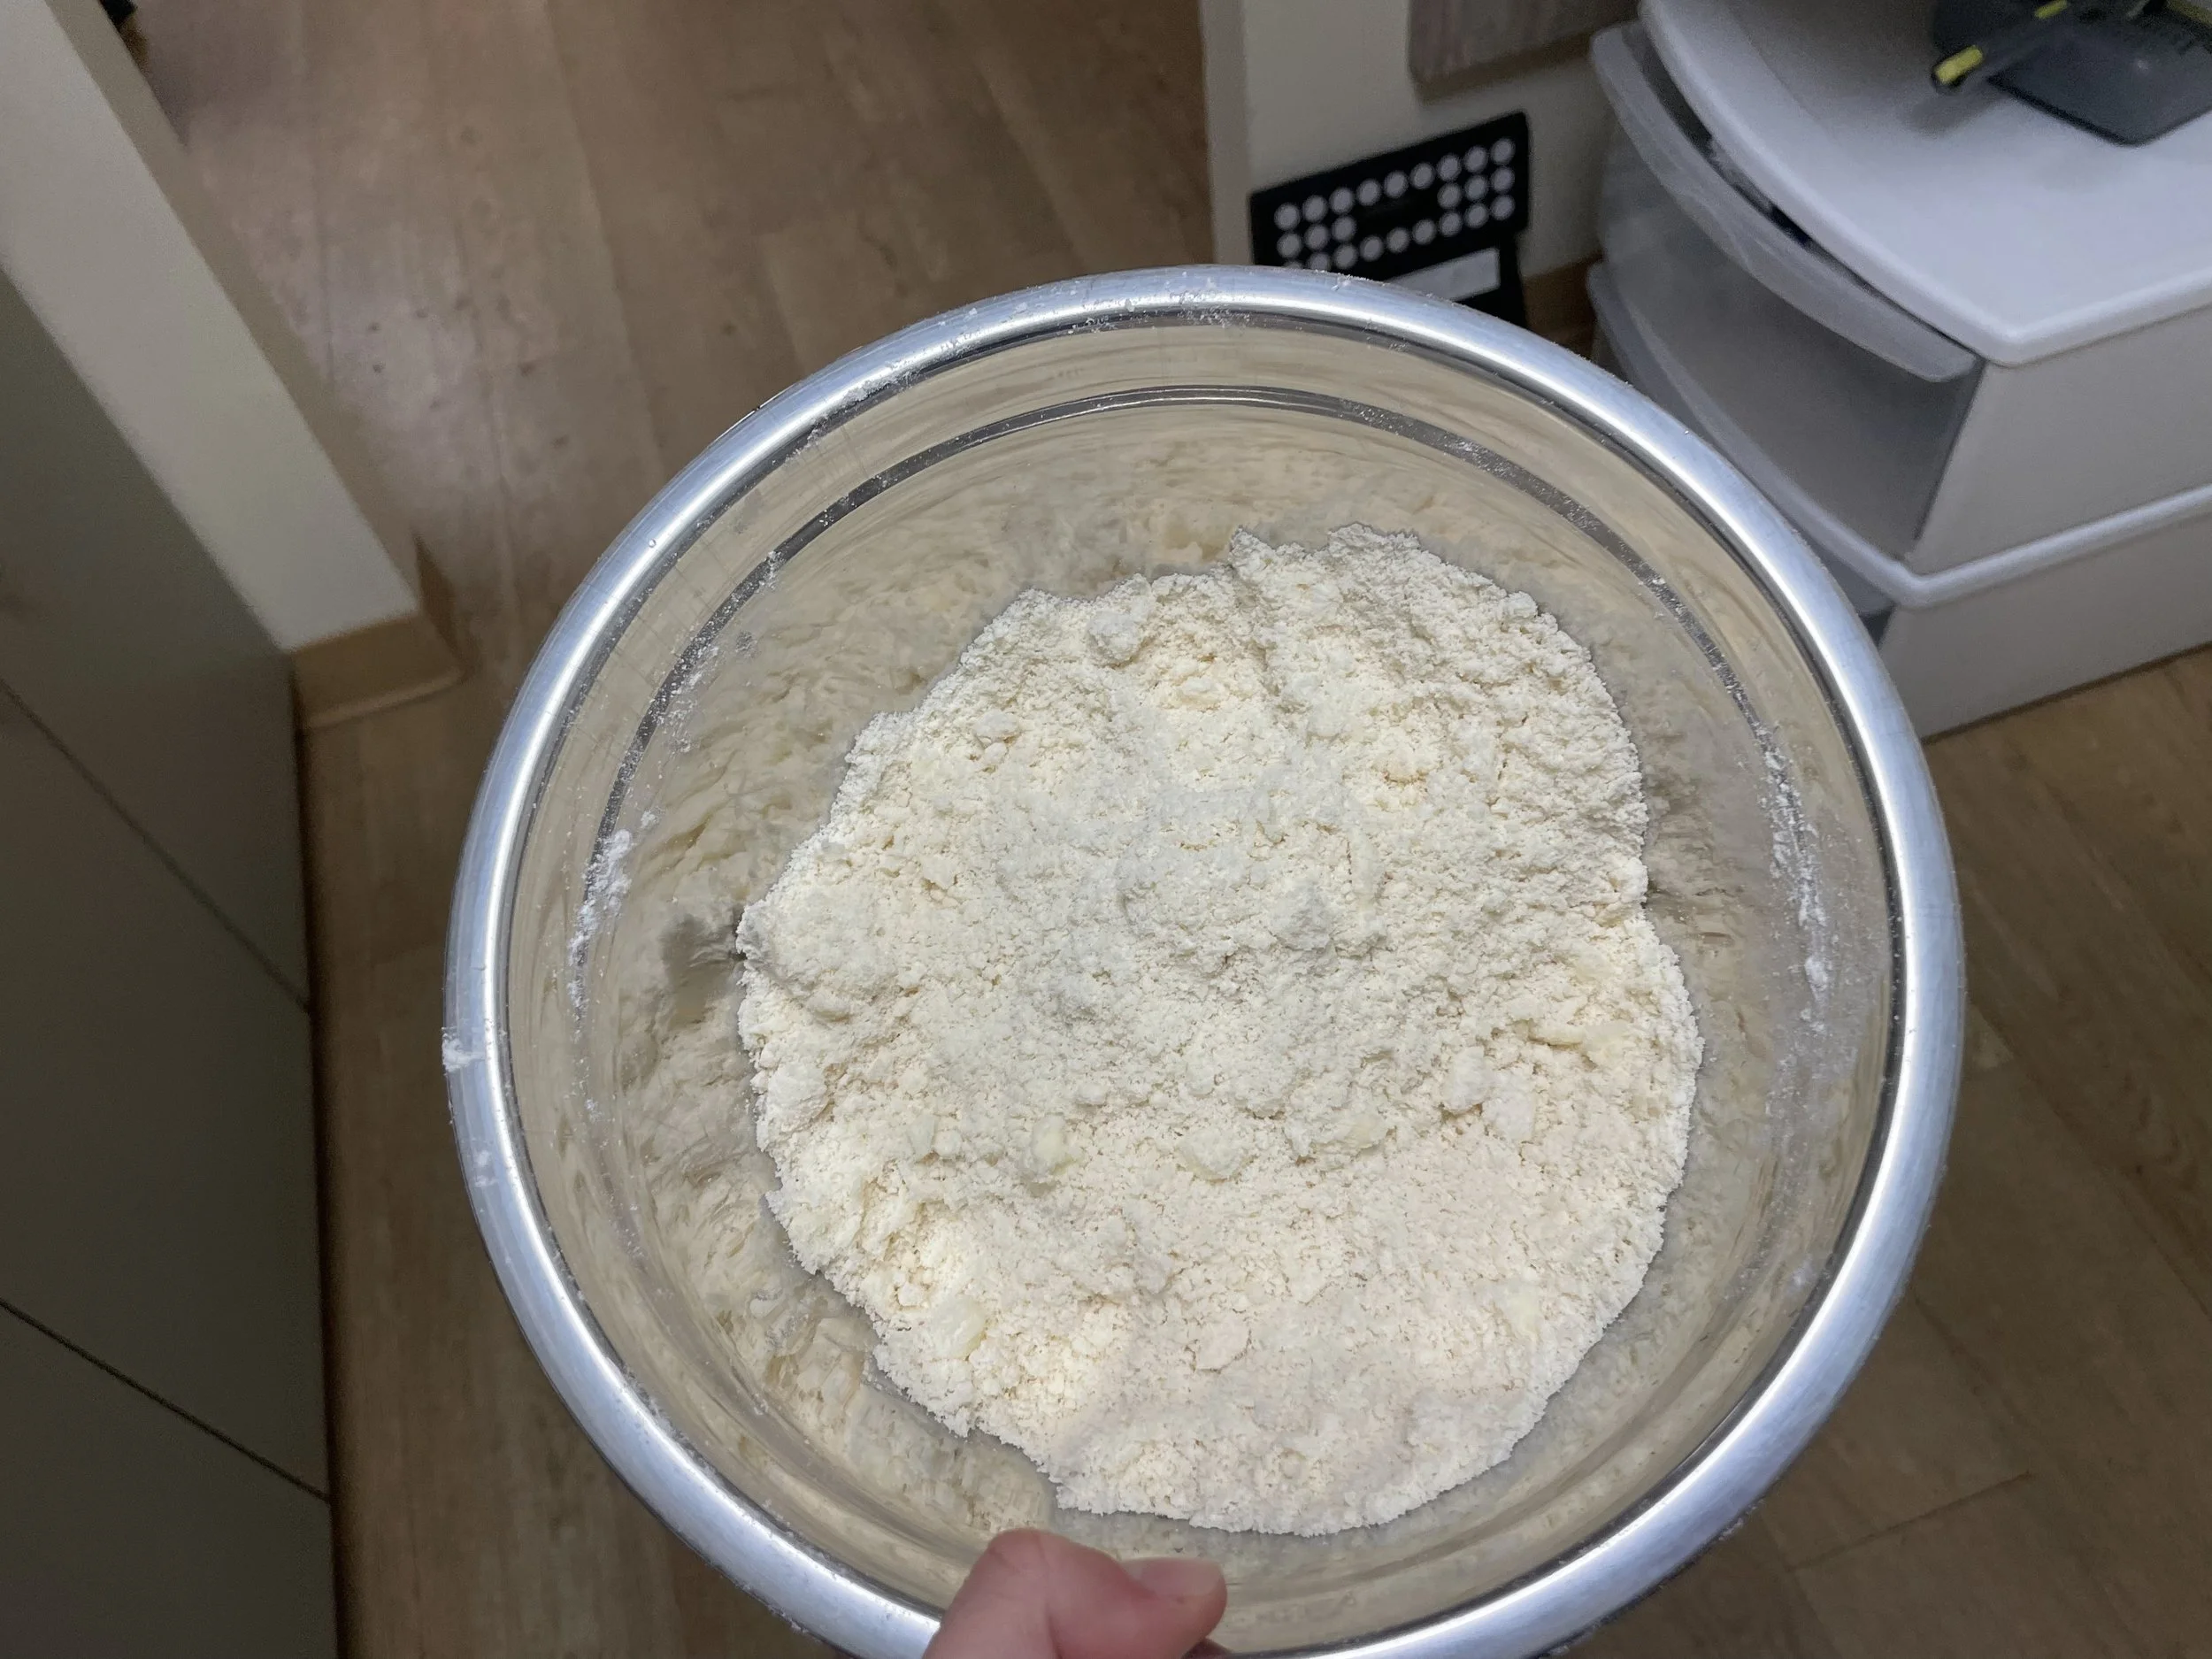
Then I had to add the egg to the yellow “cornmeal”. First it told me to add some water to the egg and mix it. The only issue though is that it said to add just 2 tablespoons of water. I didn’t realize I used a 2 tablespoon sized spoon, so I accidentally added 4 tablespoons to the egg. I assumed making pie crust is very particular, so I was afraid I already messed it up, but I mixed the egg into the dry/butter mixture and it seemed okay. I wrapped it up in plastic wrap and left it in the fridge to chill. I started baking a little late at night and I didn’t feel like staying up for hours baking, so I left the dough in the fridge all night rather than just an hour and decided to finish the pie the next day.
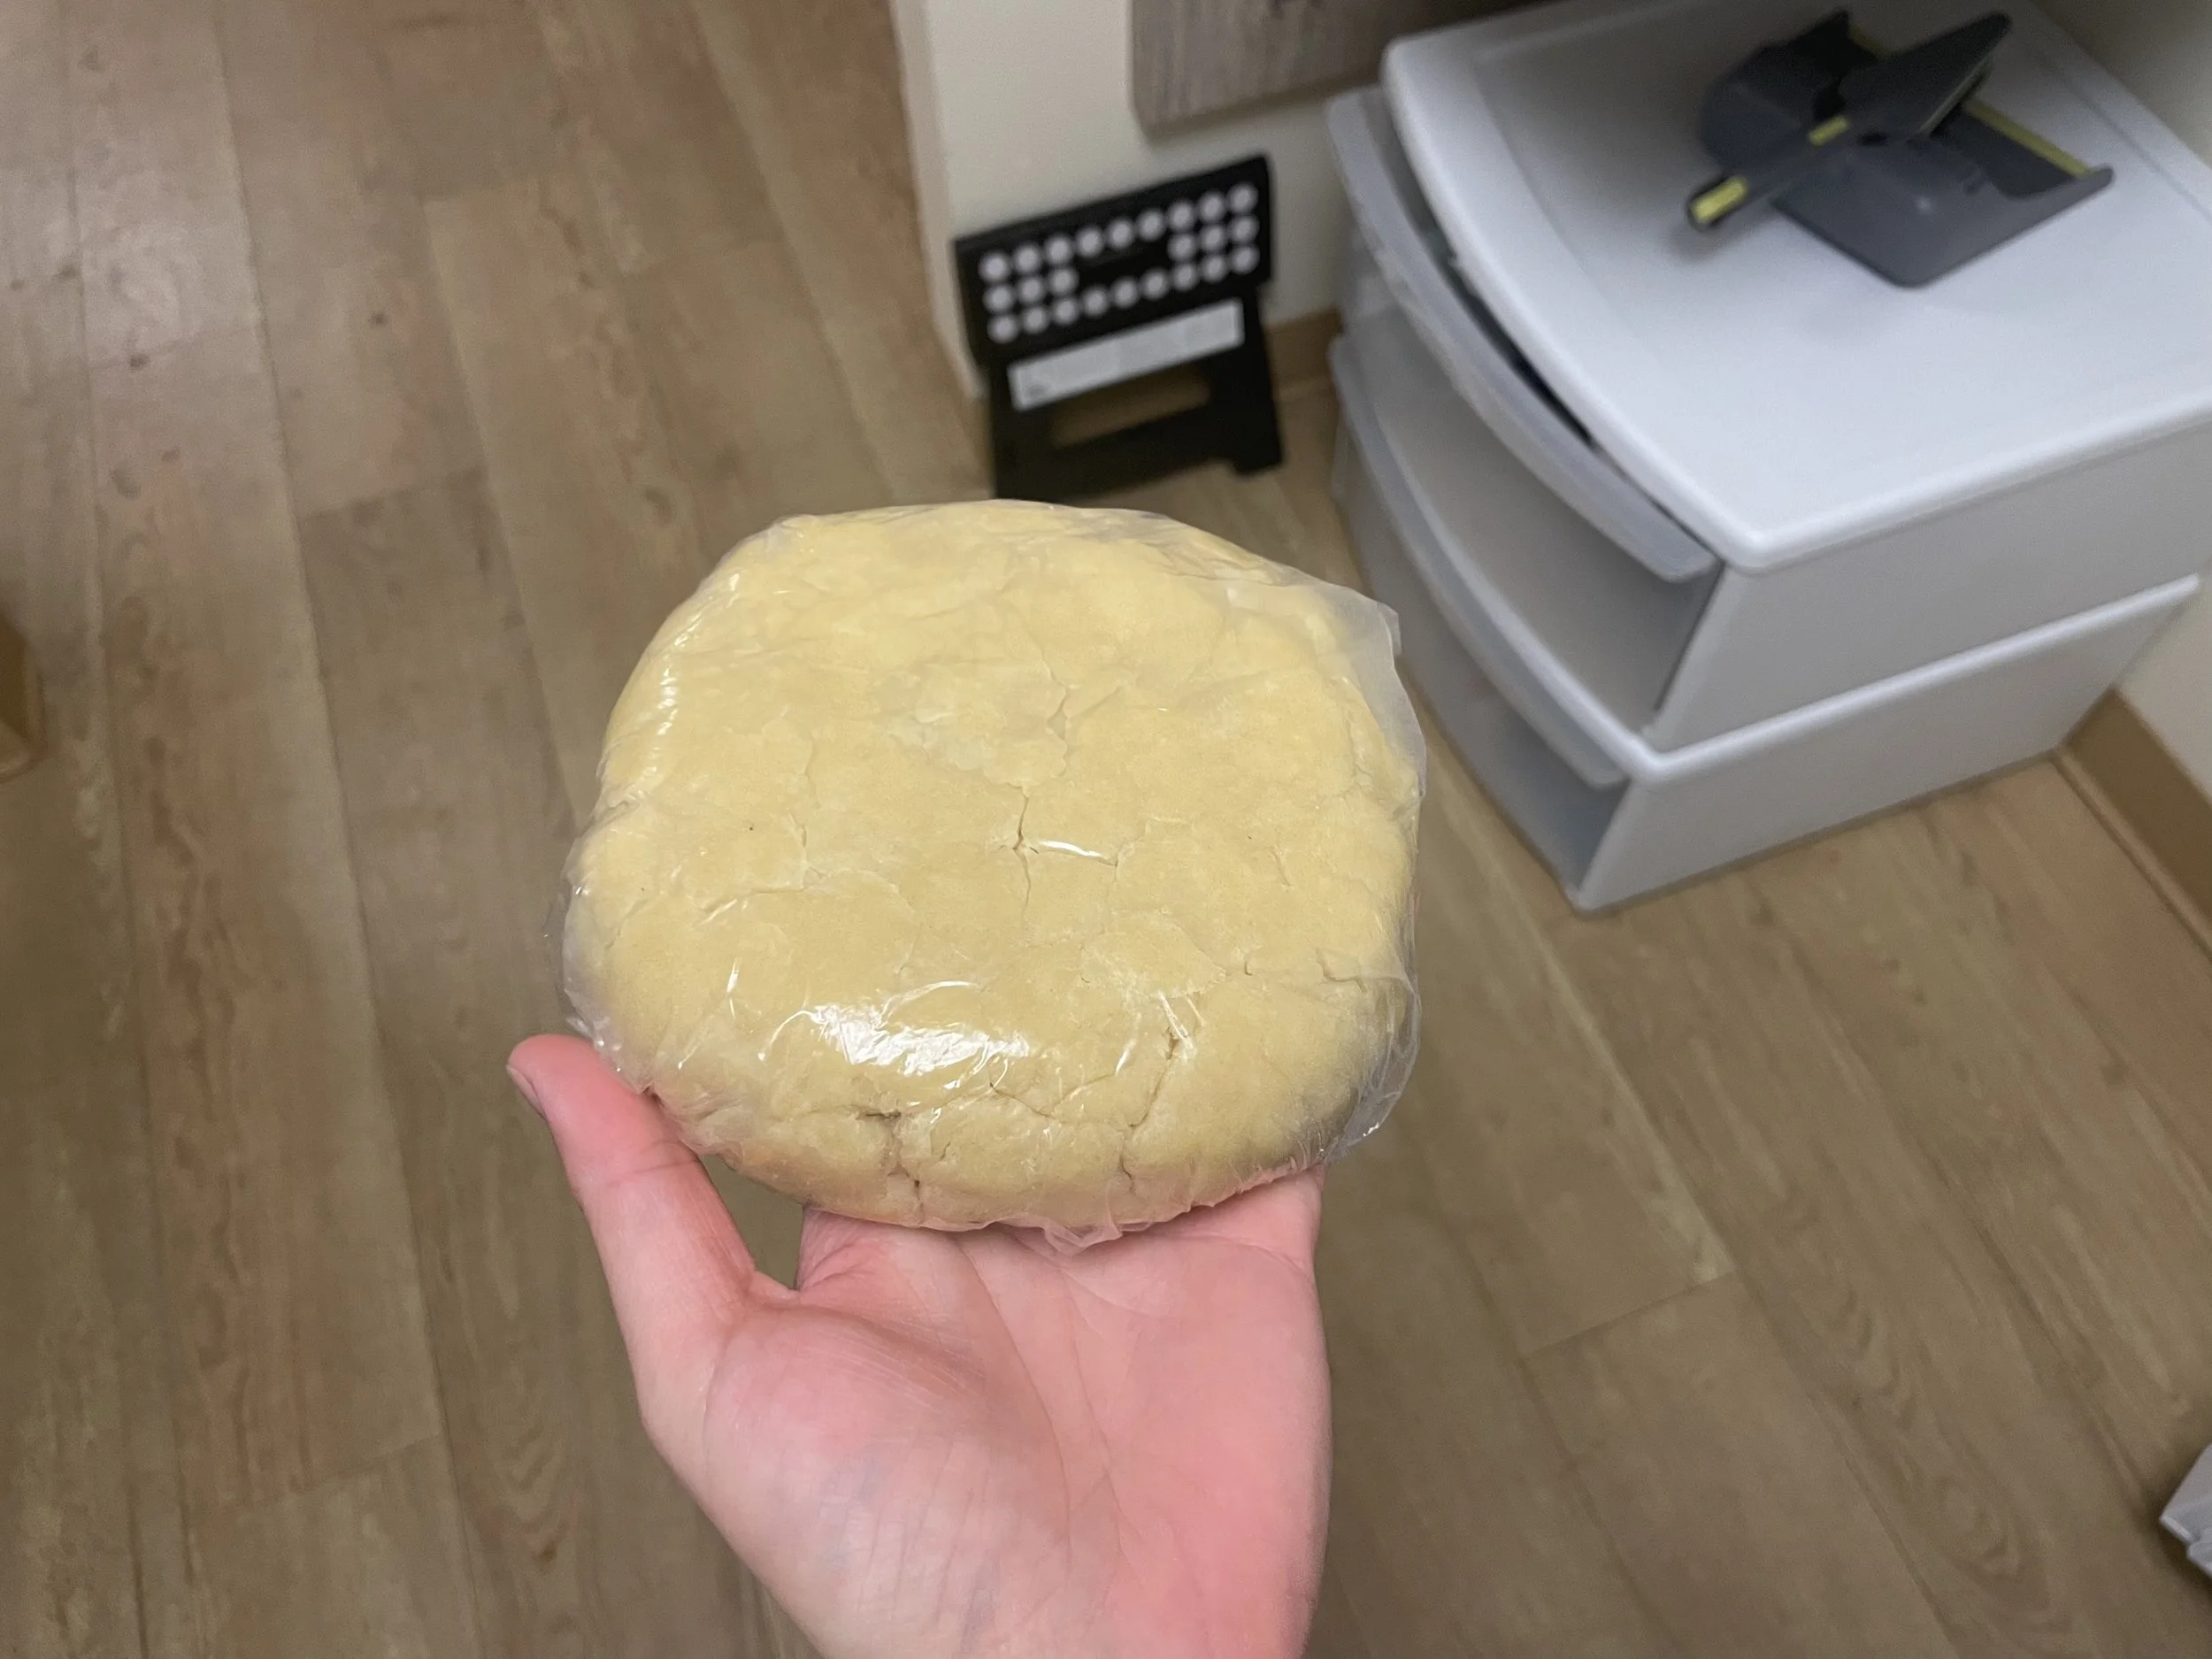
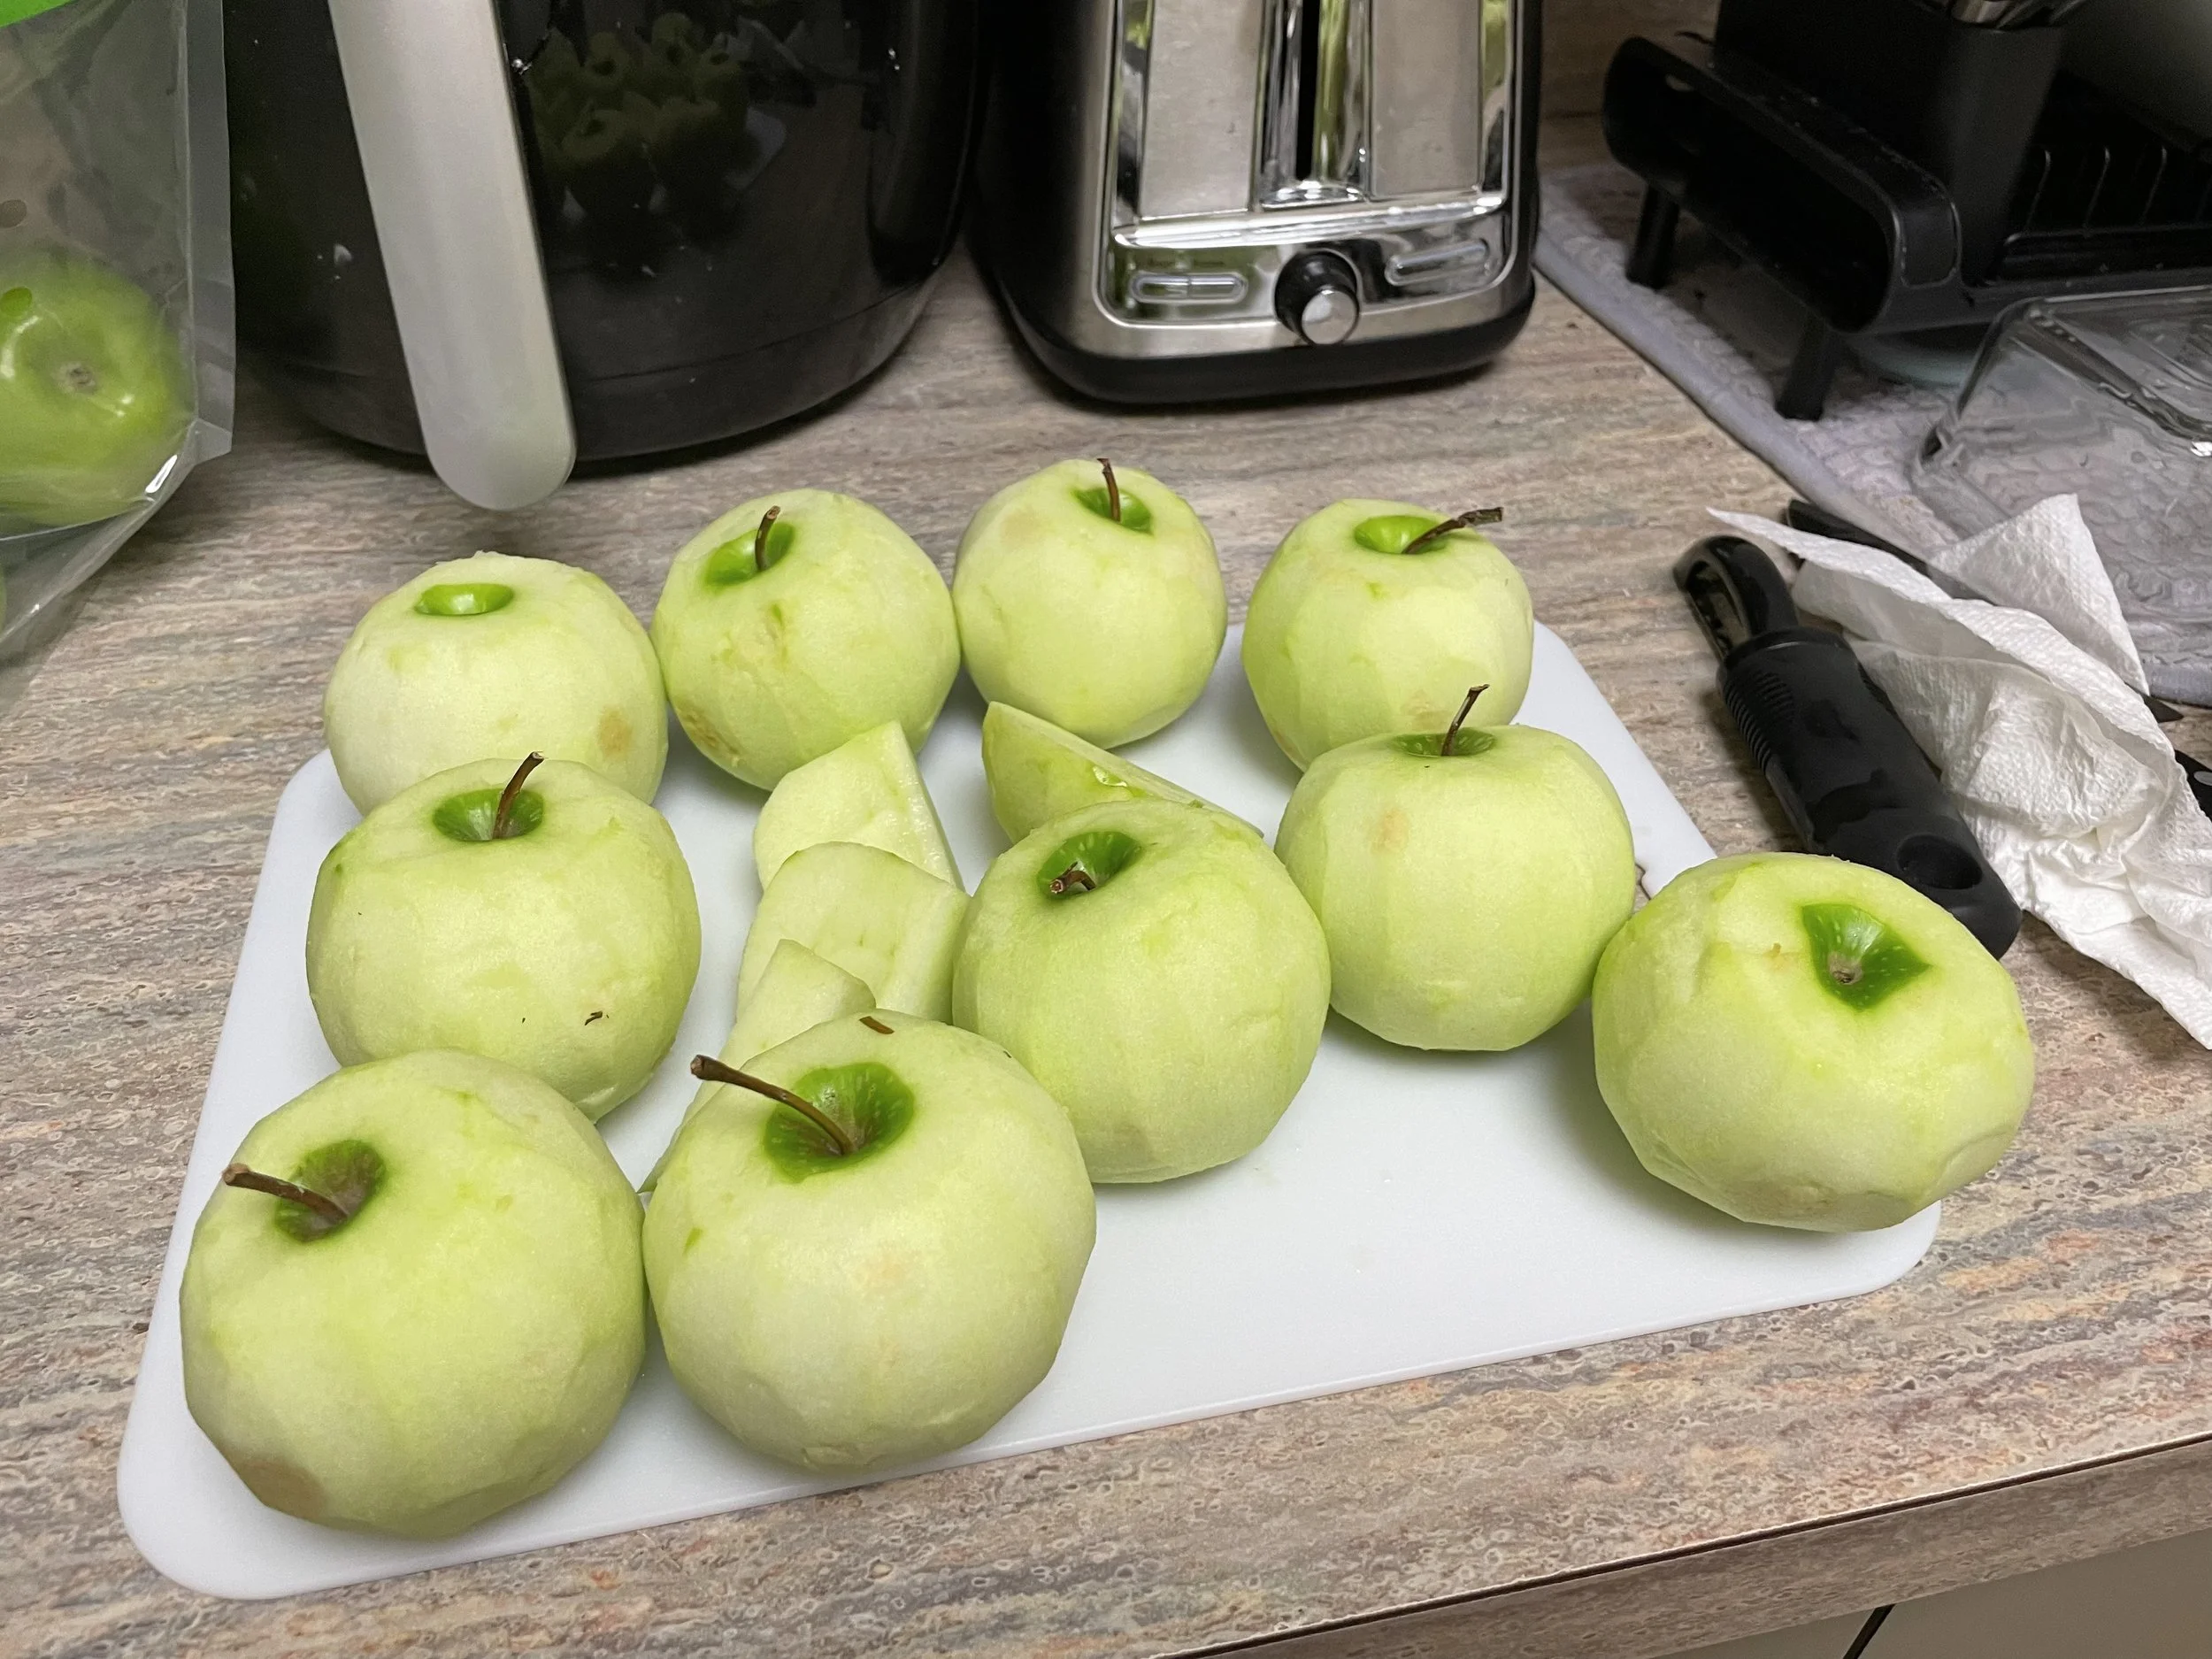
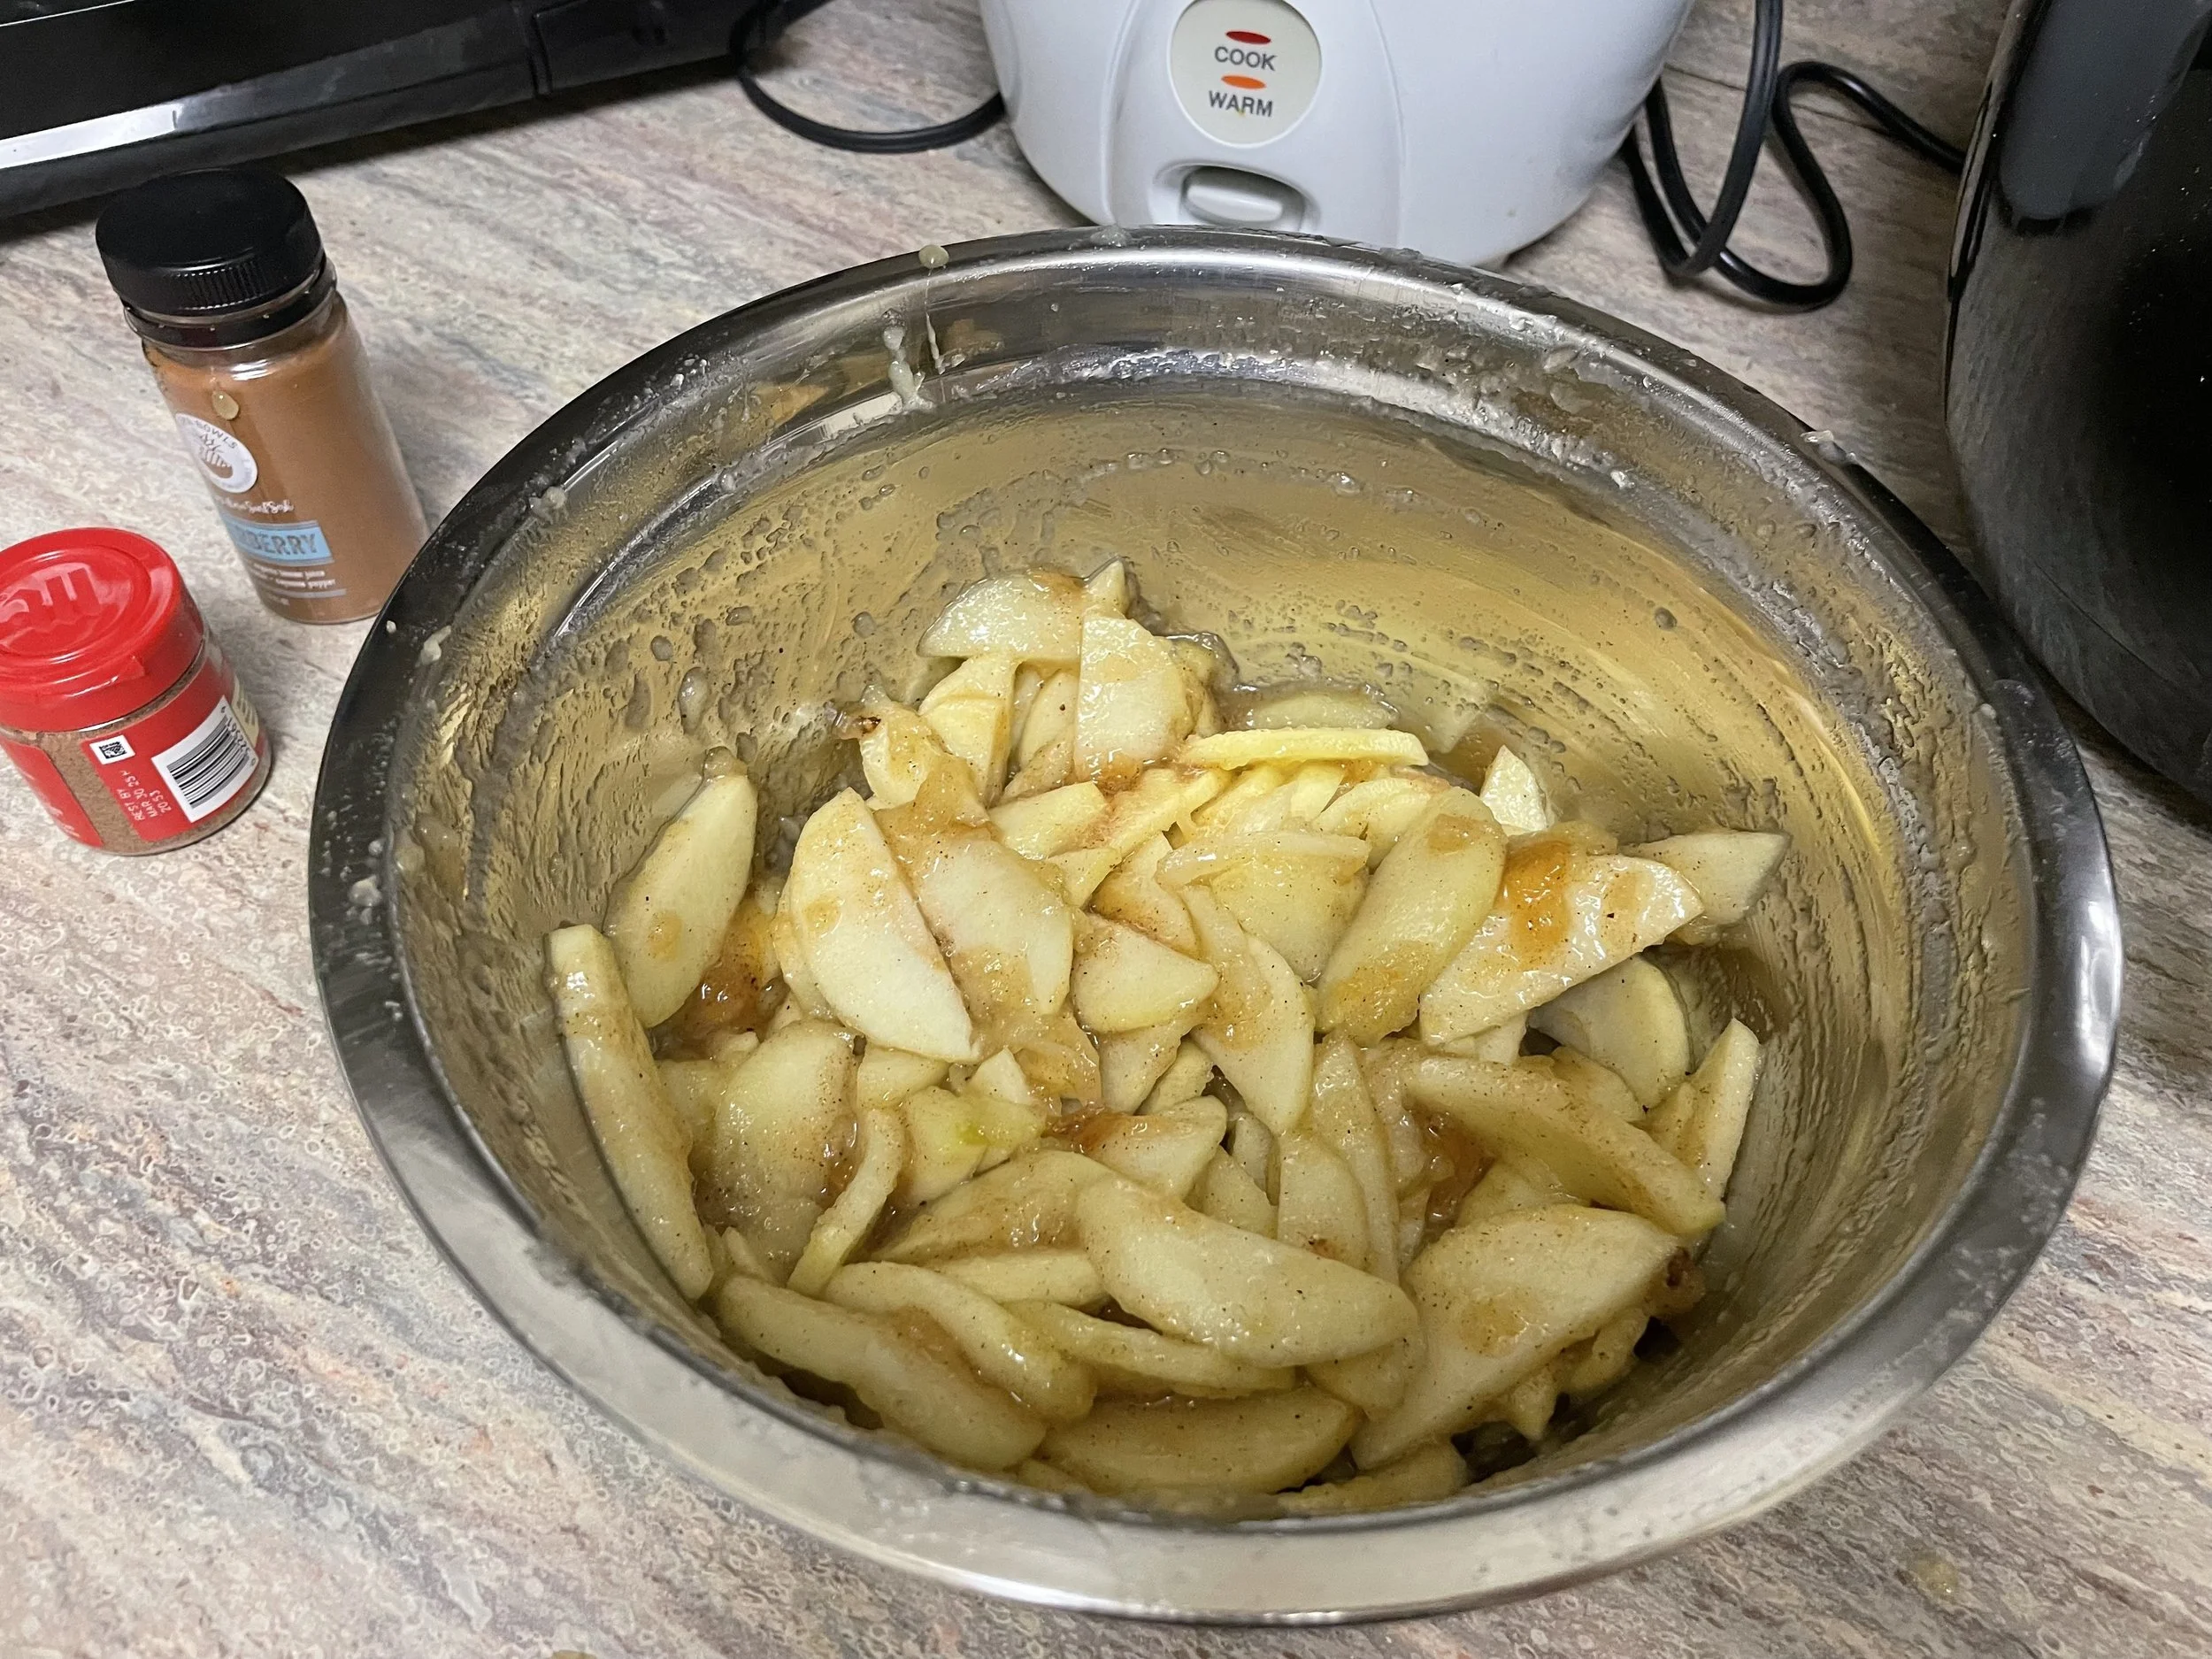
When I restarted the pie the next day, I pulled the dough out of the fridge and it was a solid brick. Seriously, that could've hurt someone. It wasn’t hard in a stale kind of way, just because it was cold, but I was still worried I did something wrong. I just left it out on the counter to thaw out a little bit while I got started on the filling. Of course, the first step was to peel and cut all the apples. My god was this tedious. Peeling the apples was the worst part and my hands were getting cold from holding them all. I ended up peeling 11 apples but only used 8 of them in the pie. It was good for me though because I cut up the other 3 and had them as a snack. I wasn’t sure how to cut the apples because I’ve seen both slices and cubes, but my parents seemed appalled when I mentioned the idea of cutting them into cubes to I went with slices.
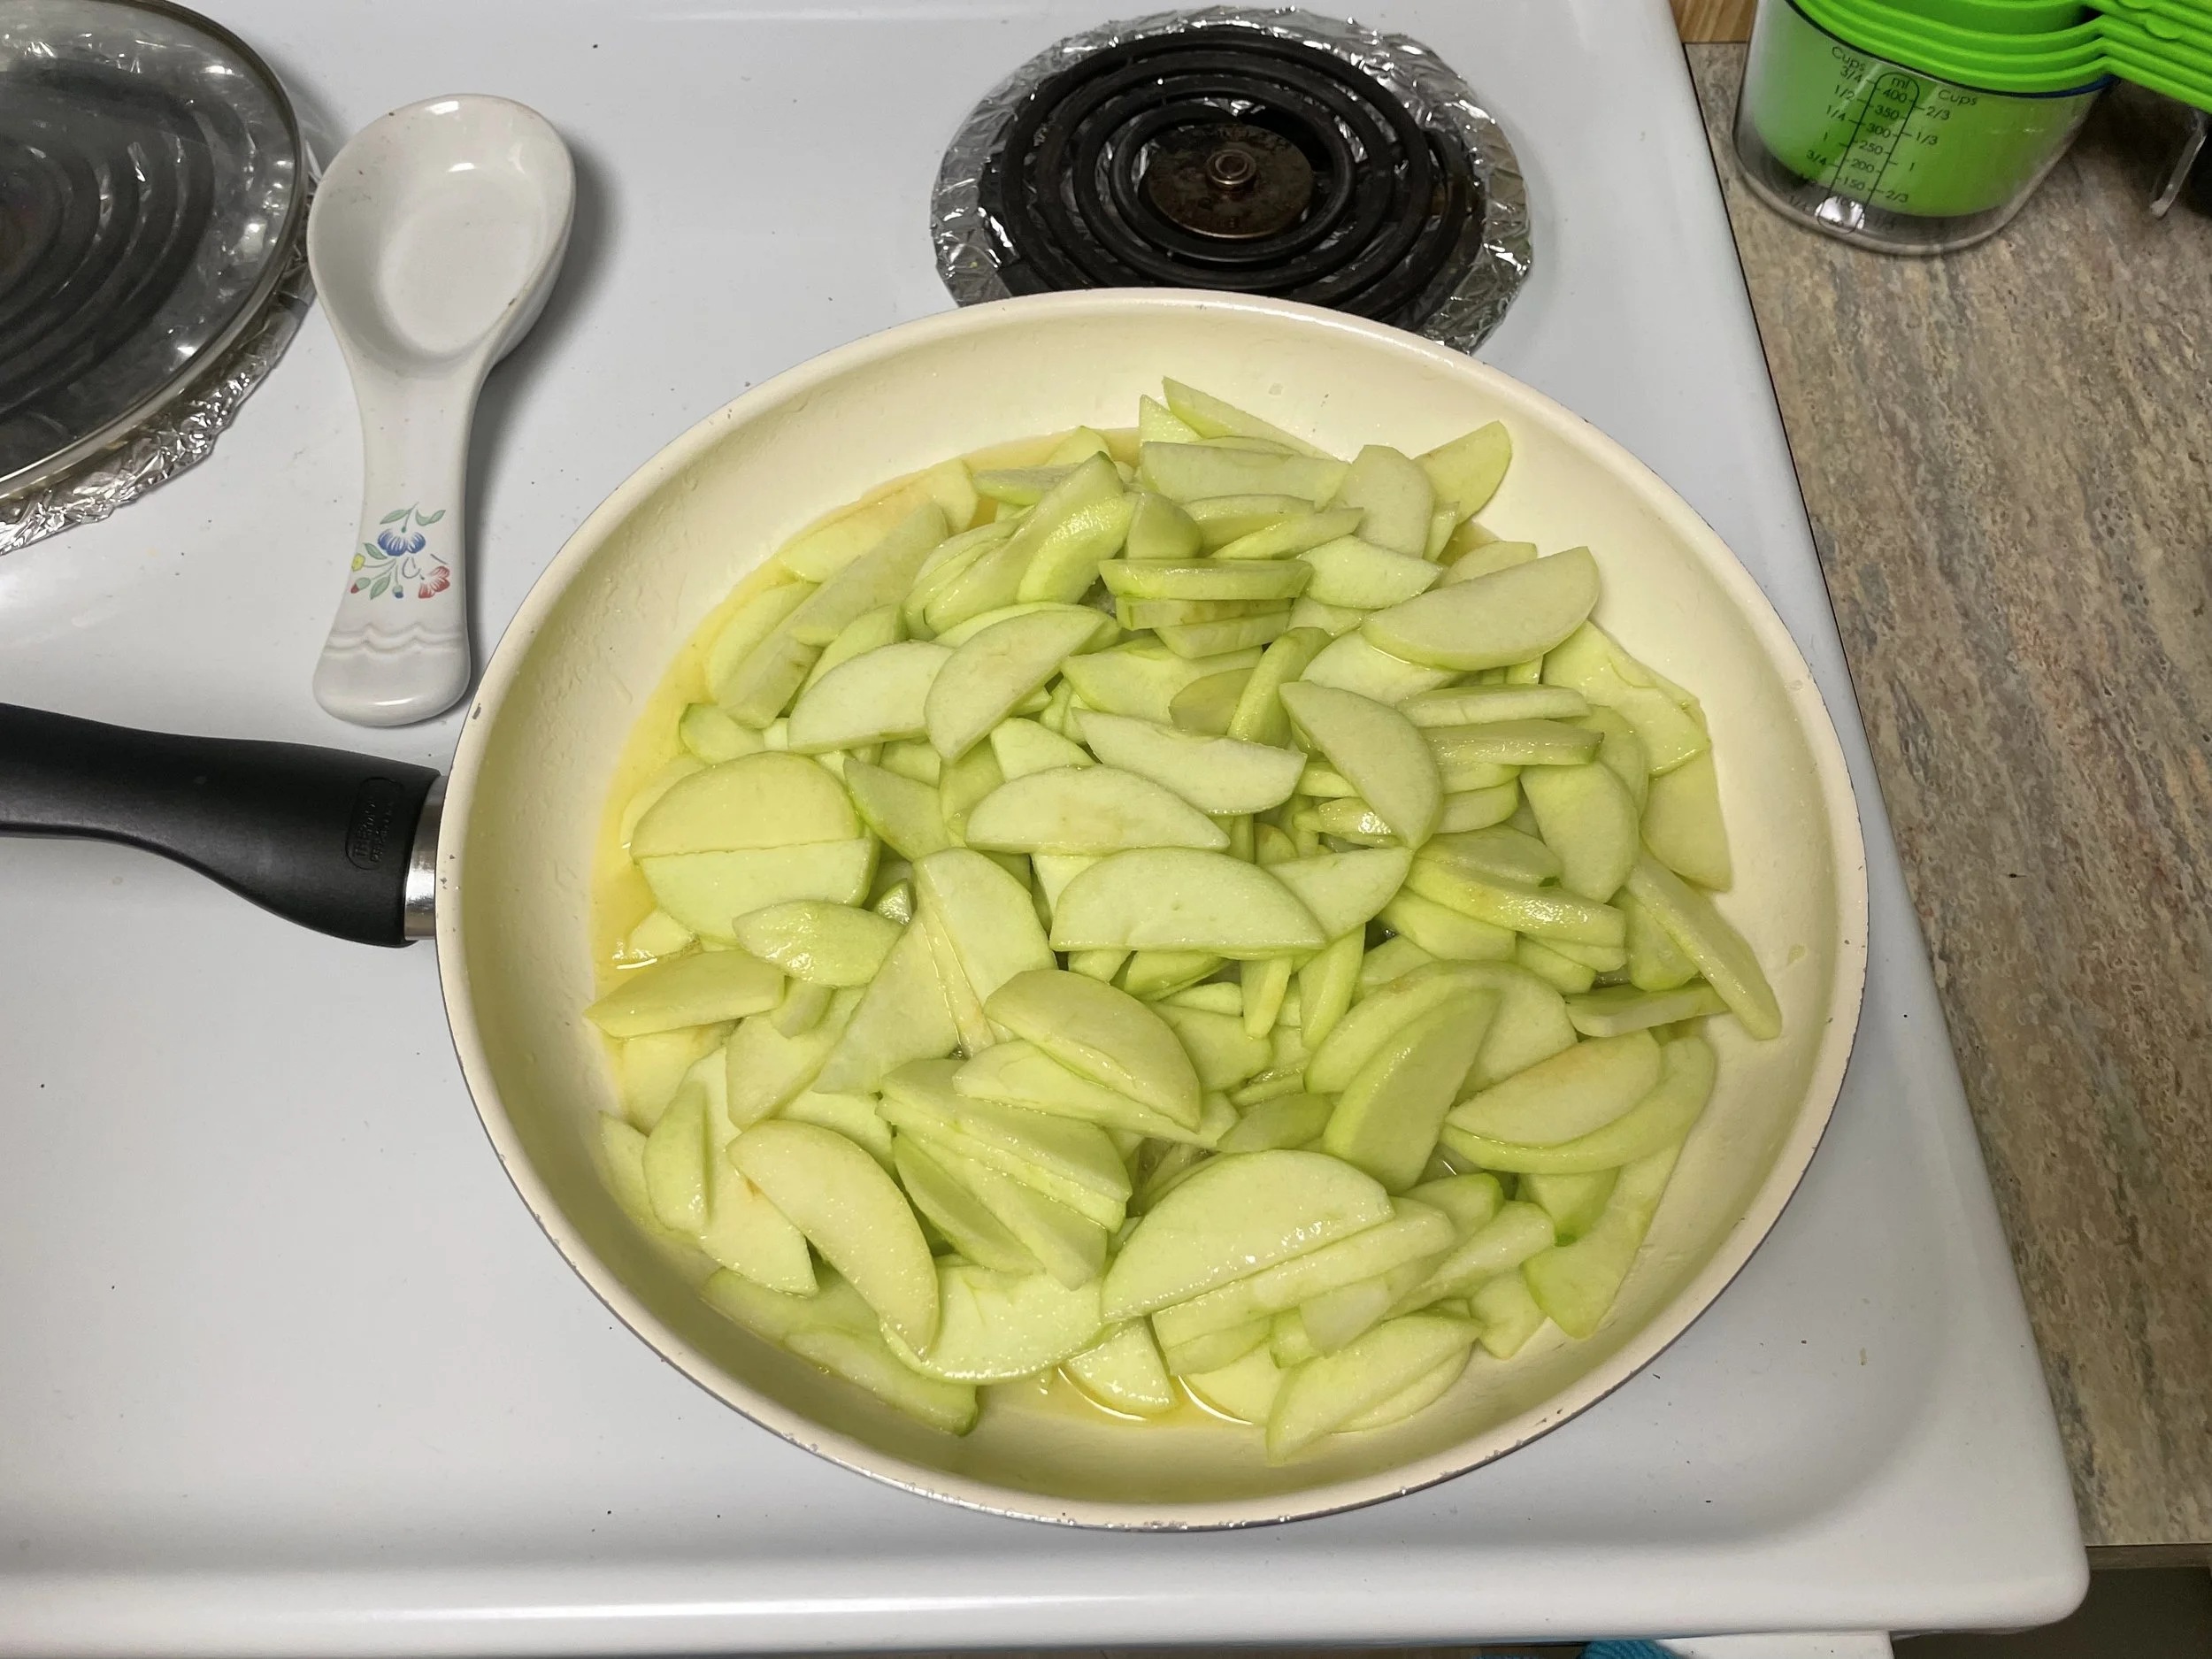
After what seemed like hours of peeling and cutting (it was only like 30 minutes I’m just dramatic) I put all the apple slices in a bowl with lemon juice. The amount of lemon juice didn’t seem like enough for the amount of apples, but I mixed it in as best as I could. I then added the sugar and mixed again. Then I had to melt some better on the stove before adding the apples in. Thank god one of my roommates brought a big pan otherwise all of the apples would’ve never fit on it. Honestly, they barely even fit on the big pan. Only problem was that after the initial simmer, I had to let it sit covered for about 10 minutes and there was no lid for the pan. We had another big pan so I just placed that one on top and it actually worked perfectly! That 4.0 gpa of mine is being put to good use.

After 10 minutes, I removed the lid and it looked…okay. At first it looked great but then I mixed it around a bit and realized that the apples on top were still a little too firm, the ones in the middle of the pile were perfect, and the ones on the bottom turned to complete mush. I tried to ignore it and went along with the process still. I drained the apples from the juice that formed from letting it simmer and then put the juice back into the pan and the apples in the bowl. As the juice cooked into a thick syrup, I tried to fish out some of the super mushy pieces. I still had a ton of apples so I wasn’t too worried about losing a lot of filling.

Once the juice/syrup was done I poured it back into the apples with the cinnamon and nutmeg. Since the apples were still hot and the syrup was right off the stove, I actually mixed with a spoon this time instead of mixing with my hands like I did for everything else. Didn’t really feel like burning my fingers off.
I started to get excited here because it was all coming together and looking like the apple pies I’ve seen in pictures! Except now it was time for the part I was dreading. I pulled out my giant hockey puck of dough and had to start rolling it out. I only had a mini rolling pin that I got in a set with mini cake pans last year. It’s convenient for saving space, but not so convenient for rolling things out evenly. I could only work on one section at a time and it kept leaving streaks in the dough from the edges of the rolling pin. Not to mention it was so hard to even get it started rolling out since it was cold, misshapen, and kept crumbling apart. I finally got it to flatten out, but it would still crumble apart and didn't have smooth edges. I tried to use some dough from the second piece to fill in the holes and it seemed to work pretty well. I measured it to see if it was big enough to fit in the pan and thankfully it was so I could stop…until I had to roll out the top. I wasn’t as concerned about the size of this one since it was just laying on top and it didn’t need to go up the edges of the pan like the bottom. I let those pieces chill for a few minutes and then started putting it all together!

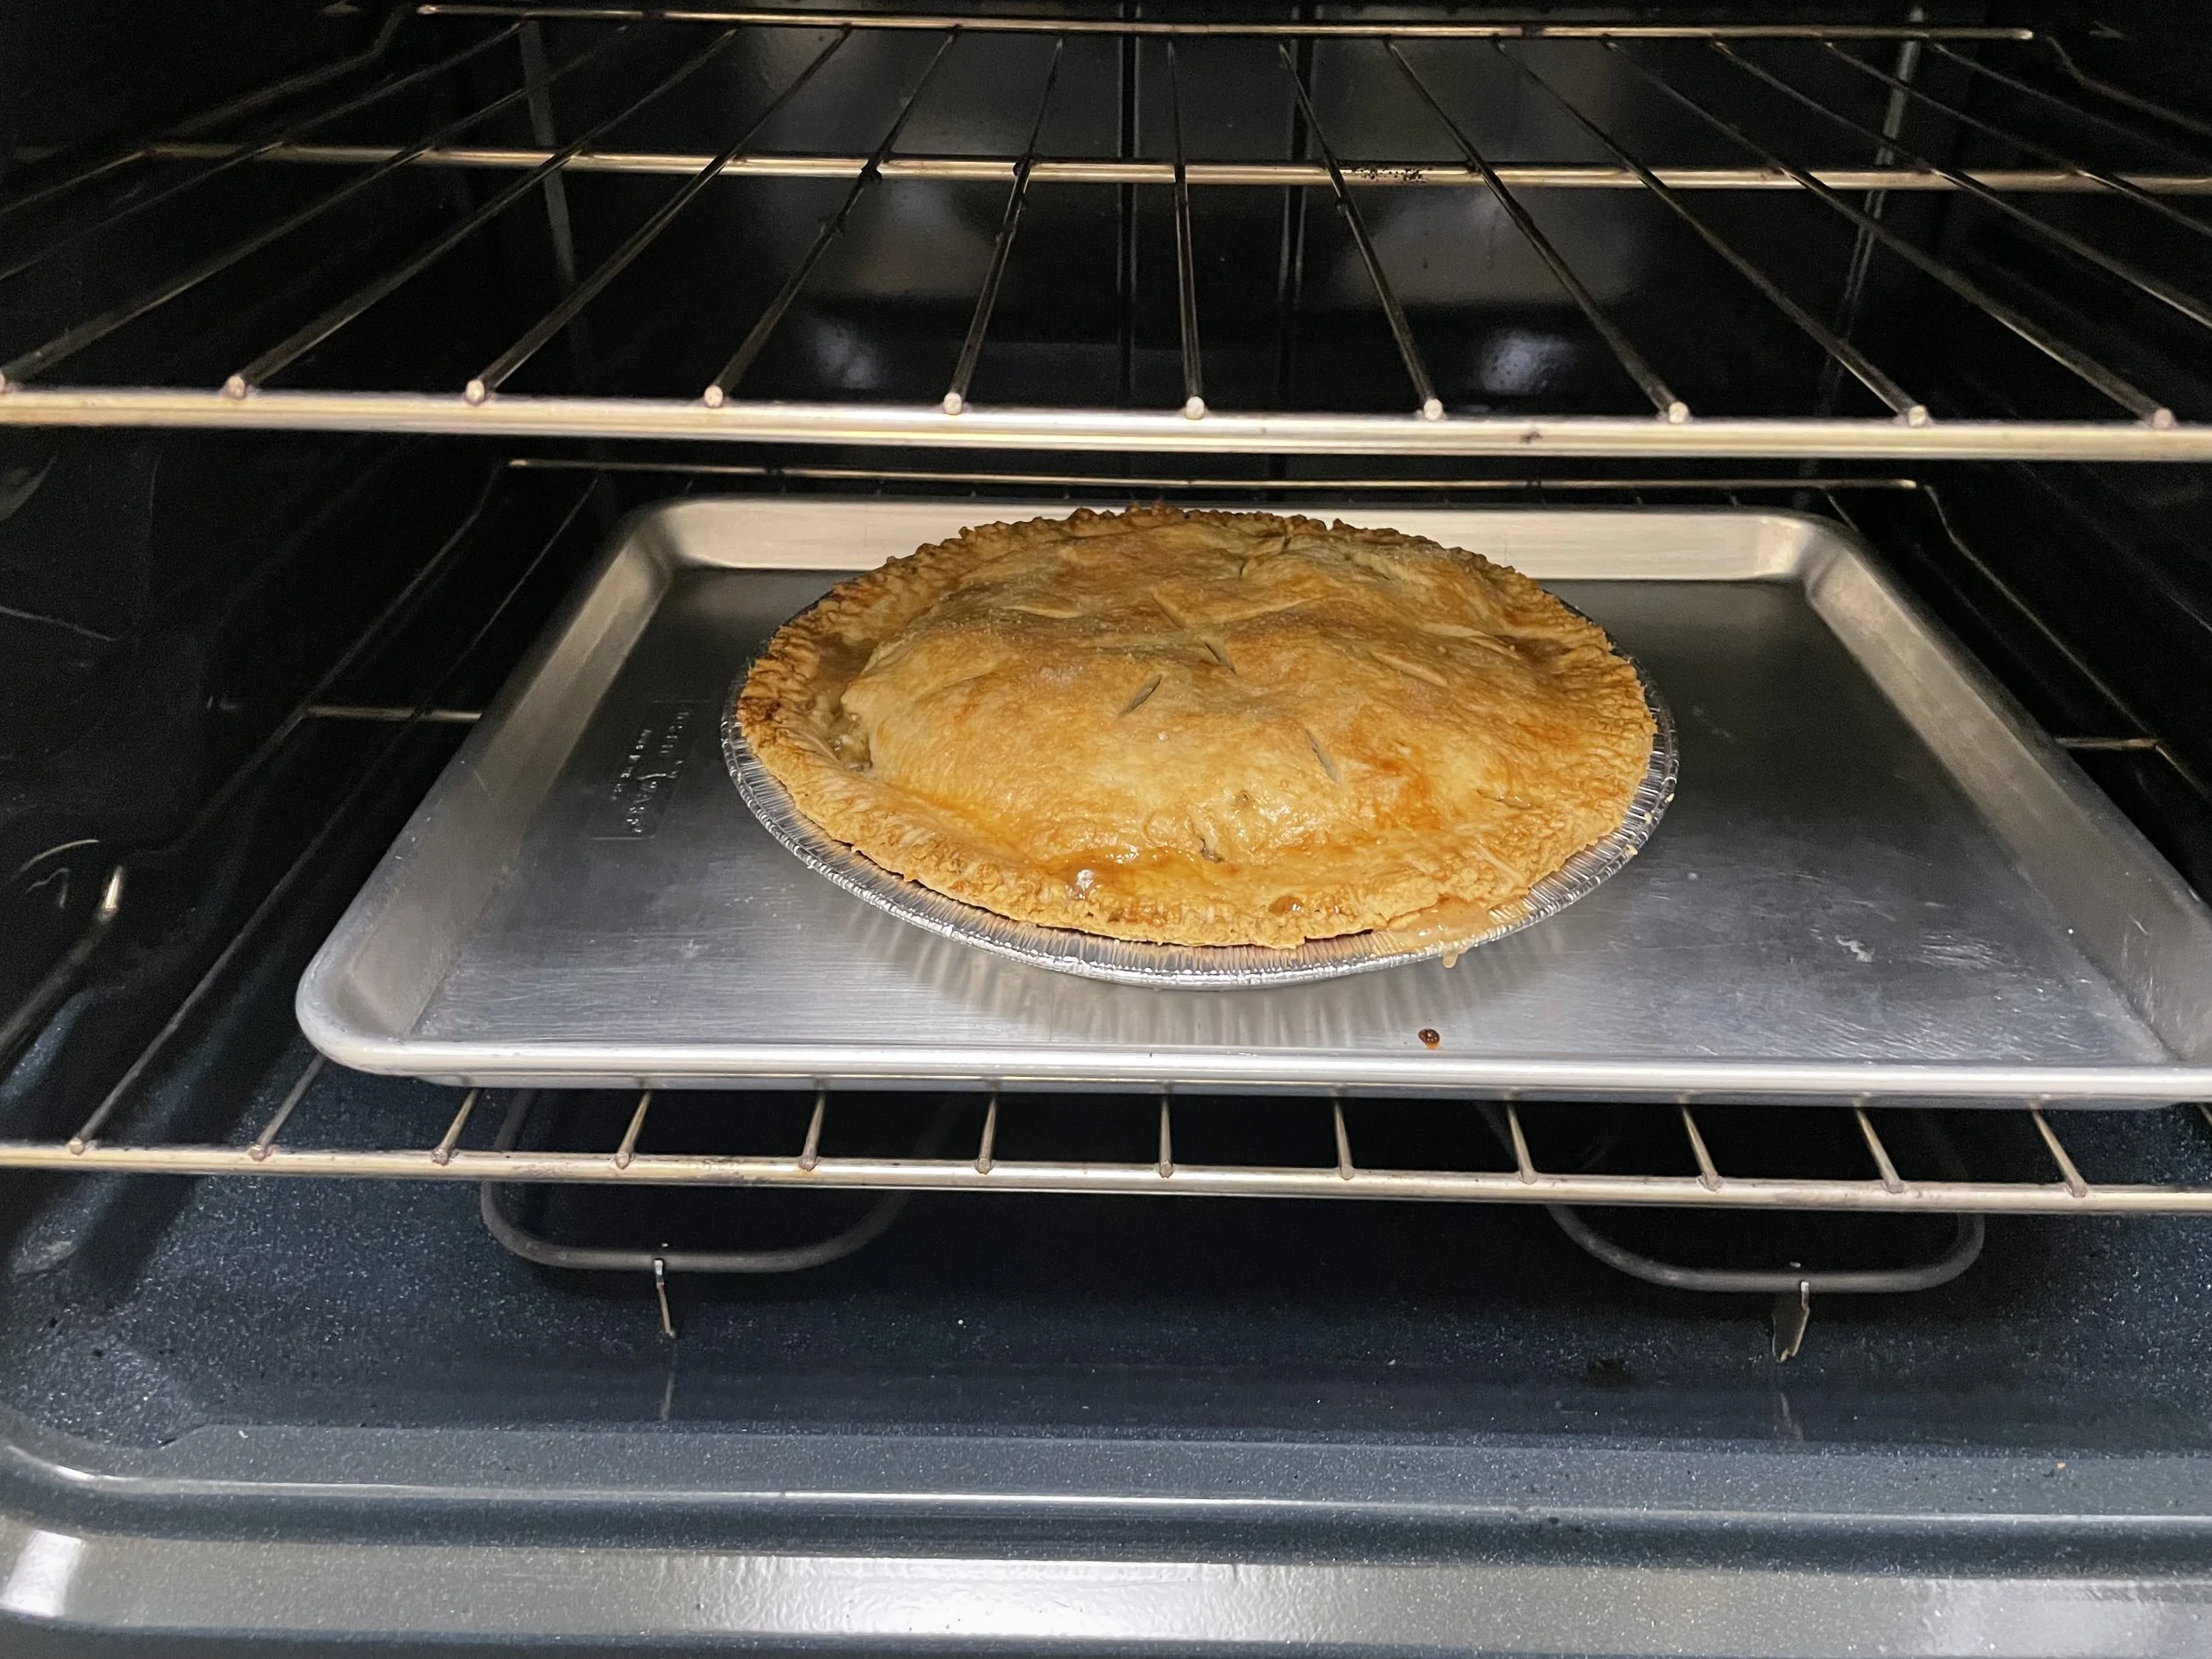
I made sure the bottom piece completely covered the pan and the edges. Some edges overflowed and others weren’t long enough so I cut it up and pieced it together until it was completely covered. Then I poured the apples in and the recipe said to keep it piled up in the middle so I didn’t spread it out. I laid the top crust over it and secured the edges with a fork. I had to brush an egg wash on top but, of course, I didn’t have a brush so, once again, I just used my hand. It wasn’t as effective as a brush but hey it got the job done. Then I added sugar on top for extra pizzazz (but also because the recipe told me to) so into the oven it went for 50 minutes.

When the timer went off it was time for the big reveal. I wasn’t sure how it would look. Maybe it would be burnt, maybe it would be undercooked, maybe it would be too liquidy. But I couldn’t believe my eyes when I opened the oven. It was beautiful! It looked like a real professional pie (I mean the edges could’ve been prettier but no ones looking at that). I let it sit for a little so I didn’t burn my face off. Then my roommates and I gathered around for the first cut. This part also scared me because I remember my pie from high school culinary class was completely liquid on the inside, so I was just hoping this one stayed together. And guess what? It did!! Everything was perfect, it was beautiful. And my roommates really liked it too!
It was my turn to test it out. Remember I don’t like apple pies so this was a true test. Now I can’t say I loved it immediately on the first bite because I was trying to get used to the warm fruit and texture, but I was impressed that it tasted like a professional apple pie and I liked the cinnamon flavor and the crust. As I kept eating my slice I was warming up to the taste and it was really good! I wanted to try it with vanilla ice cream too but I didn’t have any :(

Overall, this was a huge success! Apple pie still isn’t my favorite, but I loved how it came out and everyone else who actually likes apple pie that tried it seemed to really like it! I’ll have to make another one for Thanksgiving Day!
Maybe I’ll try making a pecan pie though.